
Last updated September 20, 2026
Full 25-point door and opener safety check with every visit - springs, cables, rollers, tracks, and your LiftMaster or Chamberlain opener included
You get a price before we start. It does not change when the truck arrives.
Full-view glass
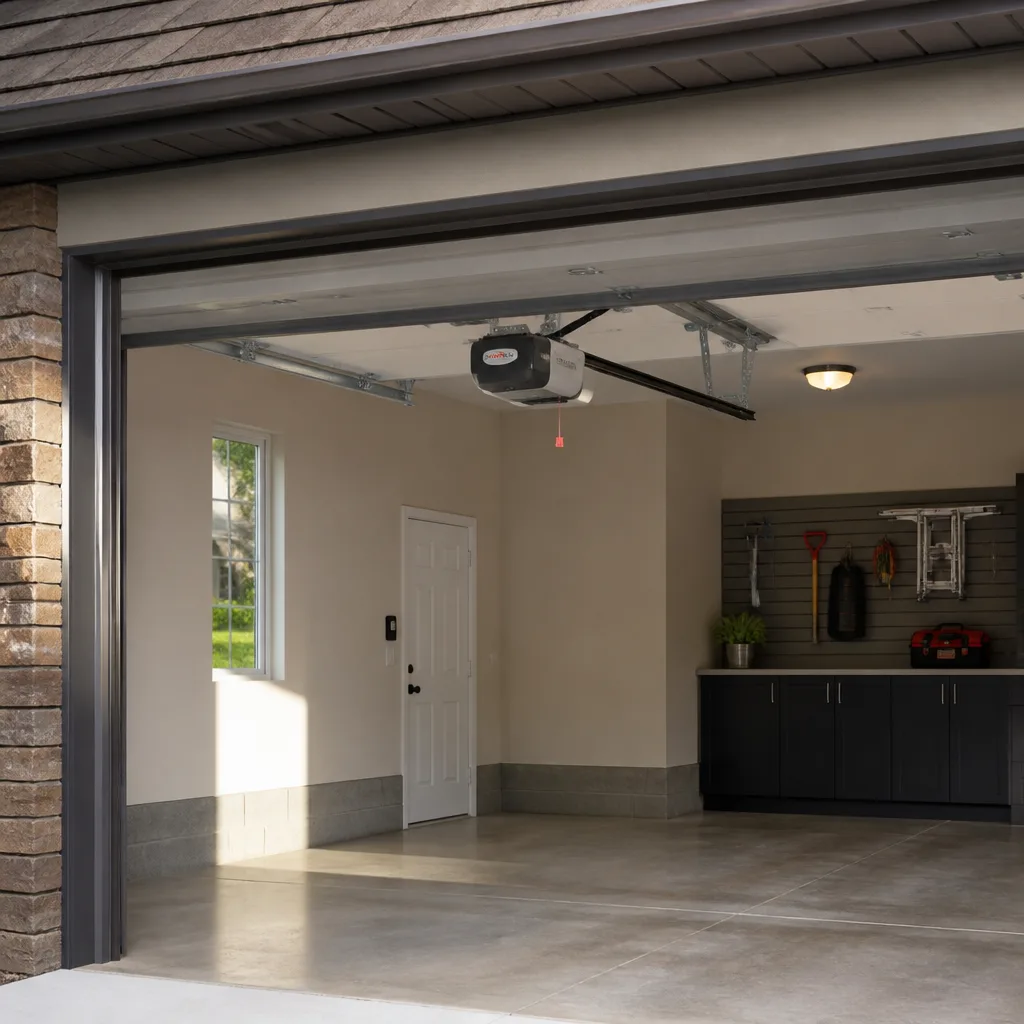
Chamberlain openers
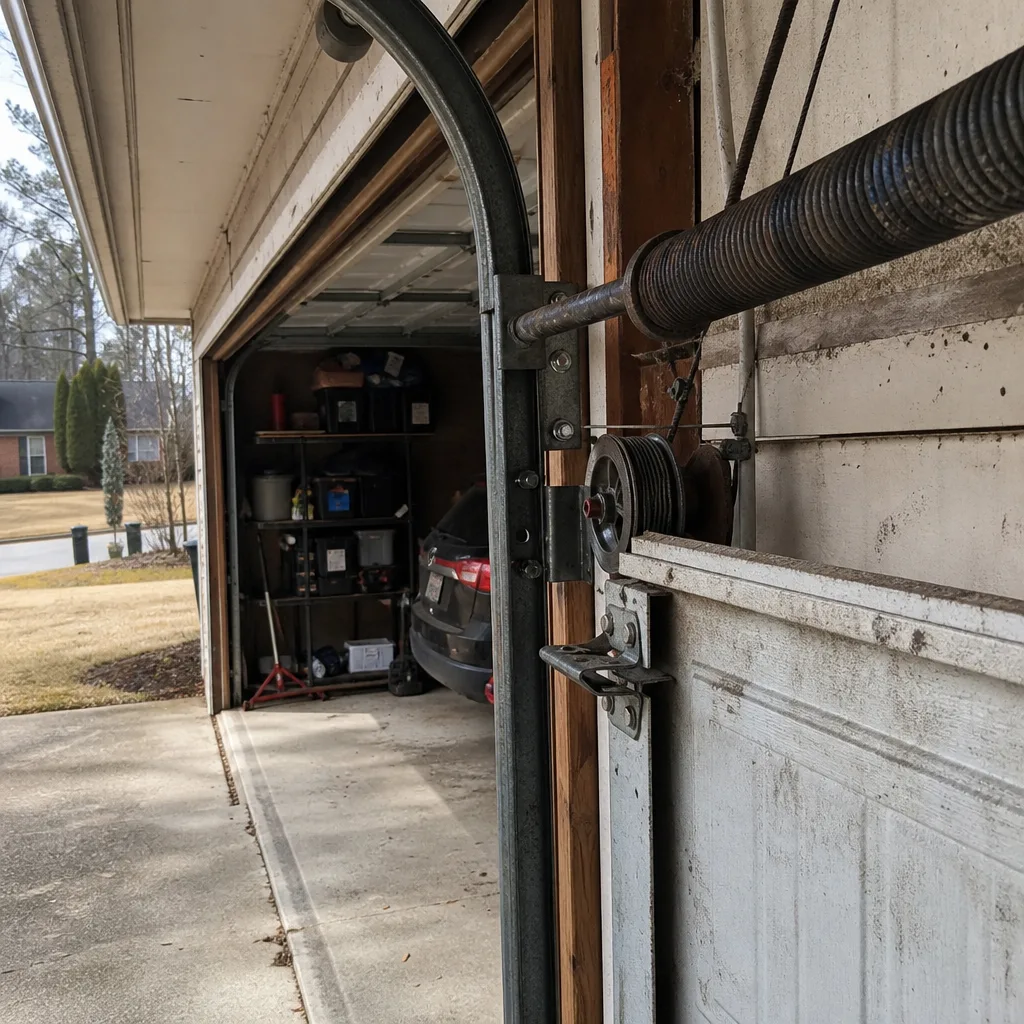 Before
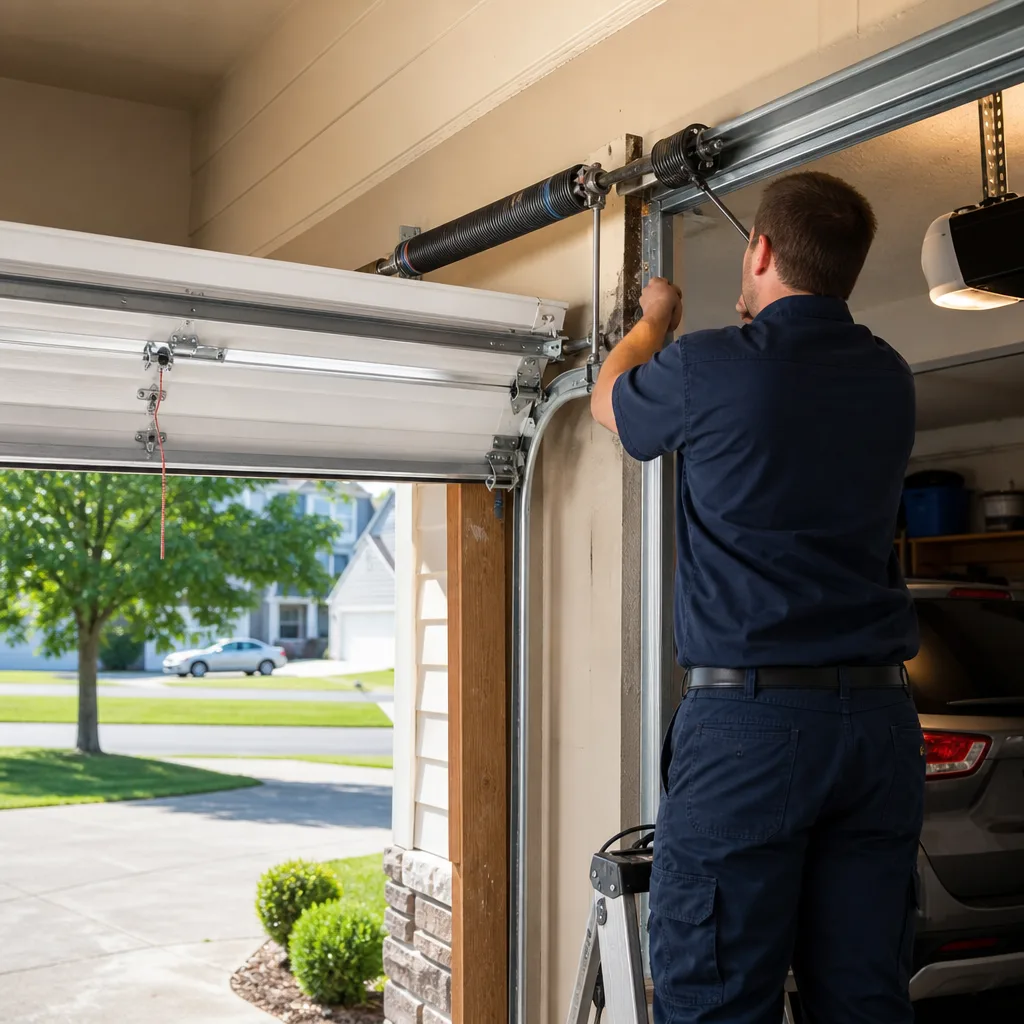 After
After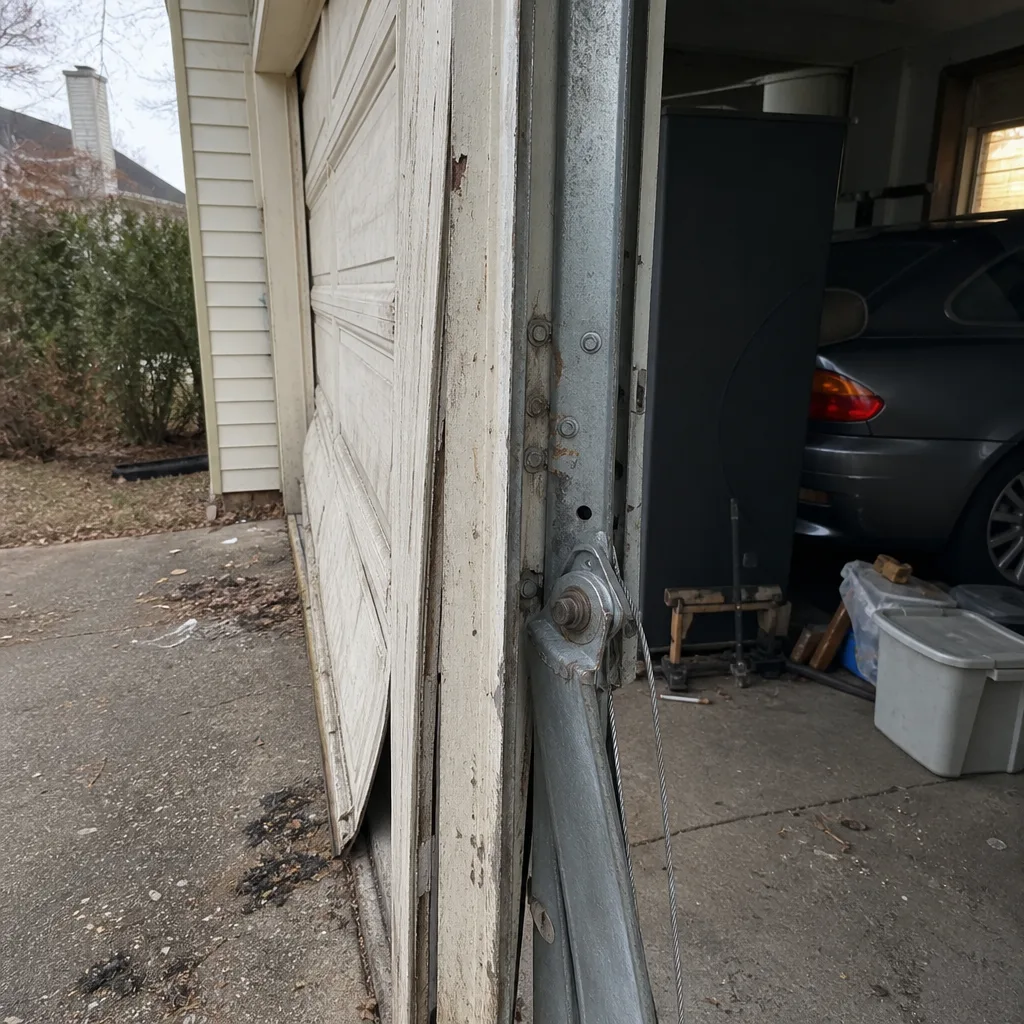 Before
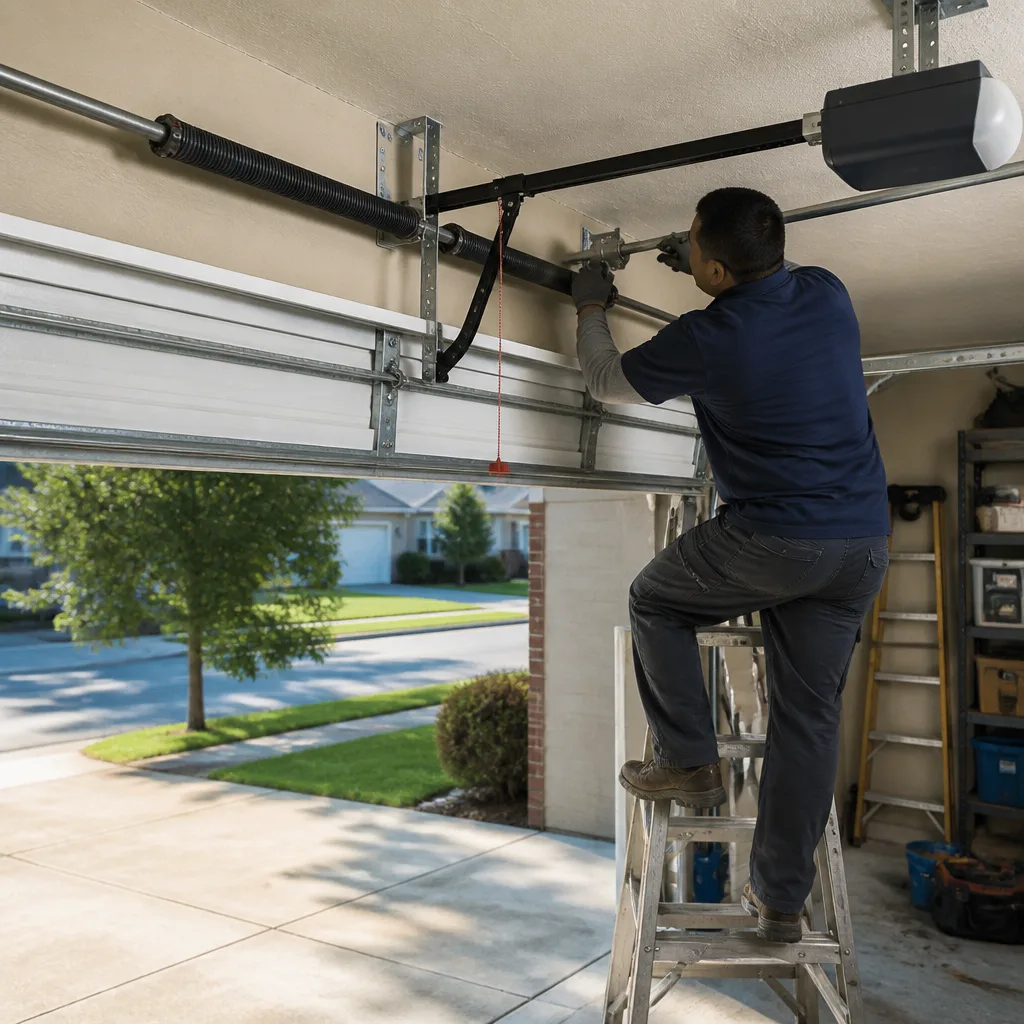 After
After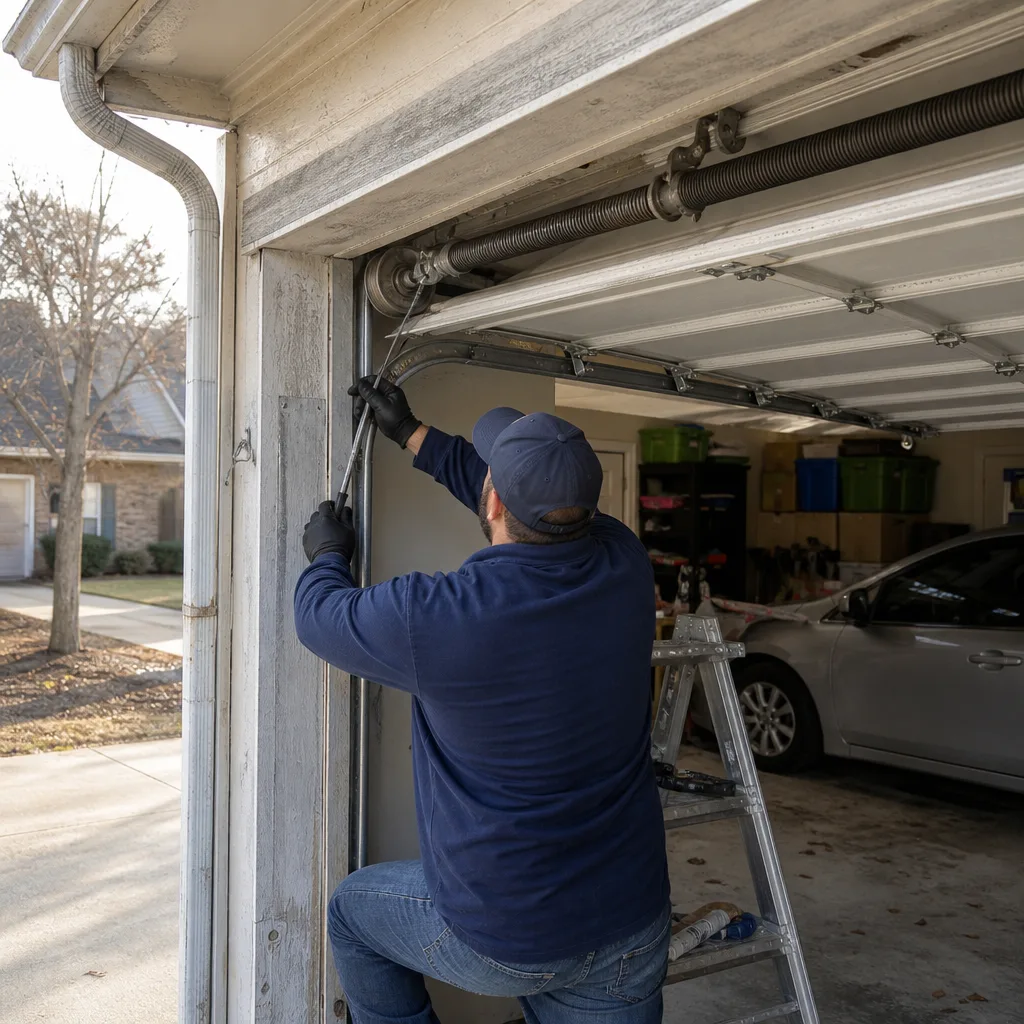 Before
 After
AfterDIY vs Professional Garage Door: The Buford Homeowner’s Decision Guide
Replacing a bottom seal is a forty-minute DIY job. Adjusting a torsion spring is a job where a quarter-turn miscalculation releases roughly 150 foot-pounds of stored energy instantly. The same Buford homeowner can safely do the first and should not attempt the second, and most guides never draw that line clearly. This one does. You’ll learn which components fall on which side of the divide, what each job actually costs in Gwinnett County, and where the warranty and permit rules catch people off guard. We’re Servo Garage Doors Buford home, and we’ve been working on Buford doors since 2015.
Quick Answer
Most garage door maintenance and minor repairs around Buford are safe DIY projects for a homeowner with basic tools and patience, but any component that stores mechanical energy under tension or torsion, including torsion springs, extension springs, and lift cables, should be handled only by a trained professional. The dividing line is not your skill level. It is stored energy. The jobs that can maim you if a tool slips belong in a different category than everything else, and the cost difference between a failed DIY attempt and hiring a pro from the start is often hundreds of dollars in the homeowner’s favor.
Table of Contents
- The Stored Energy Line: What Actually Separates DIY from Professional Work
- Component-by-Component DIY Eligibility: A Task-Level Decision Table
- Torsion Springs Explained: What 150 Foot-Pounds Means in Plain Terms
- Warranty Voiding Mechanics: What the Manufacturers Actually Say
- The True Cost Calculation: When a Failed DIY Attempt Costs More
- Gwinnett County Permits and DIY Work: What You Can and Cannot Self-Permit
- The DIY-Safe List: Seven Jobs You Can Do This Weekend
- Common Mistakes to Avoid
 Before
 After
AfterThe Stored Energy Line: What Actually Separates DIY from Professional Work
Every garage door component falls into one of two groups. Group one: parts that sit there passively until you move them. Rollers, hinges, seals, tracks, brackets, handles. Group two: parts that store energy and release it when you work on them. Torsion springs, extension springs, cables, bottom fixtures under load. The second group is where the injuries happen.
In Buford, we see a consistent pattern. A homeowner adjusts a limit switch successfully, gets confident, then decides to tackle a spring. The spring wins. If you take one thing from this guide, take this: the difficulty of a repair has nothing to do with how complicated the part looks. A torsion spring is a simple piece of coiled steel. It is also the component that sends more homeowners to the emergency room than every other garage door part combined.
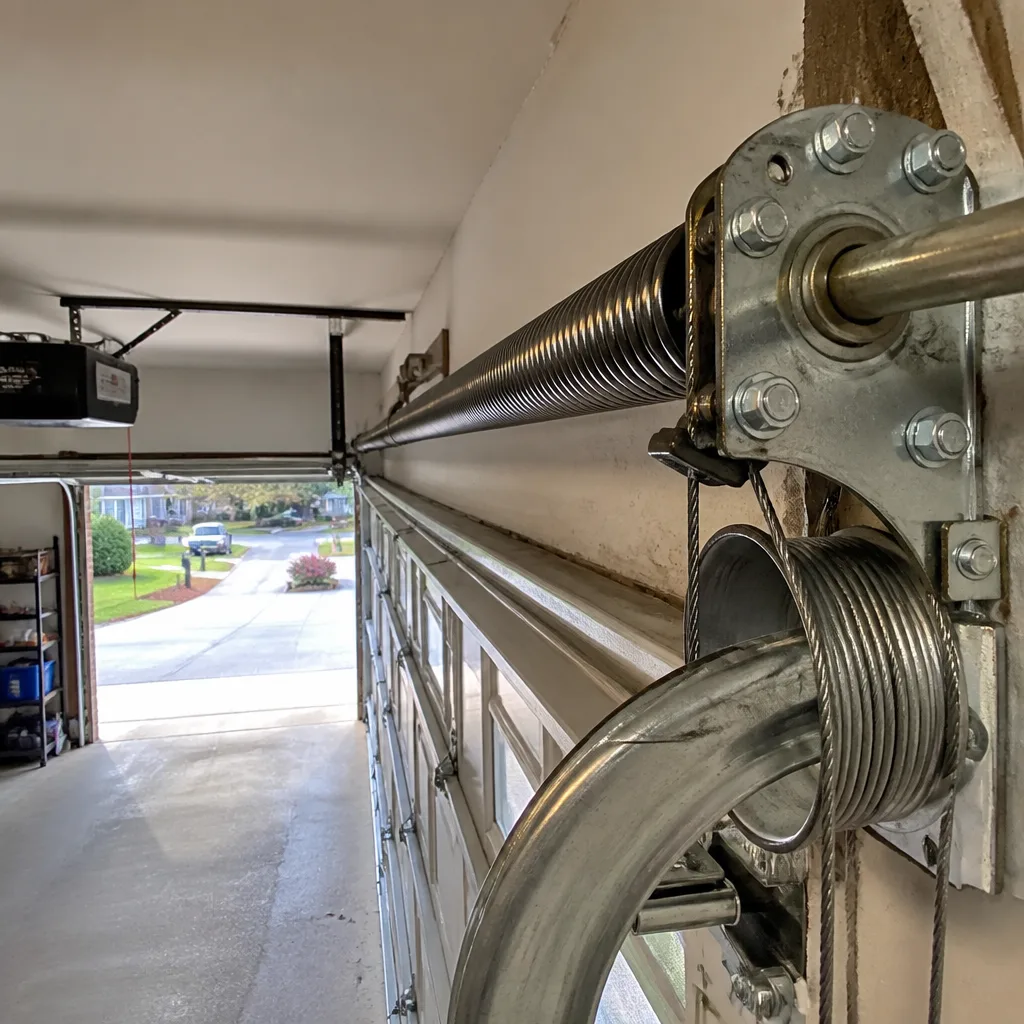
The reason is mechanical. A torsion spring on a standard 16×7 residential door in Buford holds between 130 and 180 foot-pounds of torque when the door is closed. One foot-pound is the energy required to lift one pound one foot. So 150 foot-pounds is the energy it takes to lift 150 pounds a full foot off the ground. That energy is stored in the spring coil every time you close your door. When a winding bar slips during a DIY spring adjustment, that energy releases into the bar, the bracket, or your hand. It does not release slowly.
Extension springs work differently but fail just as violently. They stretch along the horizontal track and store energy in tension rather than torsion. When one breaks without a safety cable threaded through it, the spring becomes a projectile. We’ve replaced extension springs in Buford homes where the broken coil embedded itself in a drywall ceiling. That is not an exaggeration for effect. It is the documented reason safety cables exist.
None of this means you cannot touch your garage door. It means you should only touch the parts that cannot hurt you if something goes wrong. The rest belongs to someone with winding bars, cable pullers, and the training to know what a quarter-turn feels like before it becomes a missing tooth.
Component-by-Component DIY Eligibility: A Task-Level Decision Table
The decision to DIY or hire should be made per task, not per door. A homeowner who should never touch a torsion spring can safely replace every hinge on the same door. Here is the Garage Door Repair Maintenance Checklist for Buford Homeowners we use when Buford homeowners ask us what they can handle.
- Bottom seal replacement: DIY-friendly. Zero stored energy. Tools required: utility knife, flathead screwdriver. Skill ceiling: low. Time: 30-45 minutes. Cost DIY: $20-$40. Cost pro: $120-$180 in Buford.
- Roller replacement (hinge-mounted): DIY-friendly with care. Zero stored energy on most doors. Tools: socket set, pliers. Skill ceiling: low-moderate. Time: 1-2 hours. Cost DIY: $30-$60 for a set. Cost pro: $150-$250. Note: do not remove the bottom roller bracket, which is under cable tension.
- Hinge replacement: DIY-friendly. Zero stored energy. Tools: socket set. Skill ceiling: low. Time: 30 minutes per hinge. Cost DIY: $15-$25 per hinge. Cost pro: $100-$175 including labor.
- Lubrication and maintenance: DIY-friendly. Zero stored energy. Tools: silicone spray or white lithium grease. Skill ceiling: low. Time: 20 minutes. Cost DIY: $10-$15. Cost pro: $80-$120 as part of a tune-up.
- Weatherstripping and vinyl trim: DIY-friendly. Zero stored energy. Tools: tin snips, hammer, nails. Skill ceiling: low. Time: 1-2 hours. Cost DIY: $40-$80. Cost pro: $150-$250.
- Limit switch adjustment: DIY-moderate. Zero stored energy but affects opener logic. Tools: flathead screwdriver. Skill ceiling: moderate. Time: 20-40 minutes. Cost DIY: $0. Cost pro: $100-$140 as a service call. Note: consult your opener manual for the correct adjustment sequence.
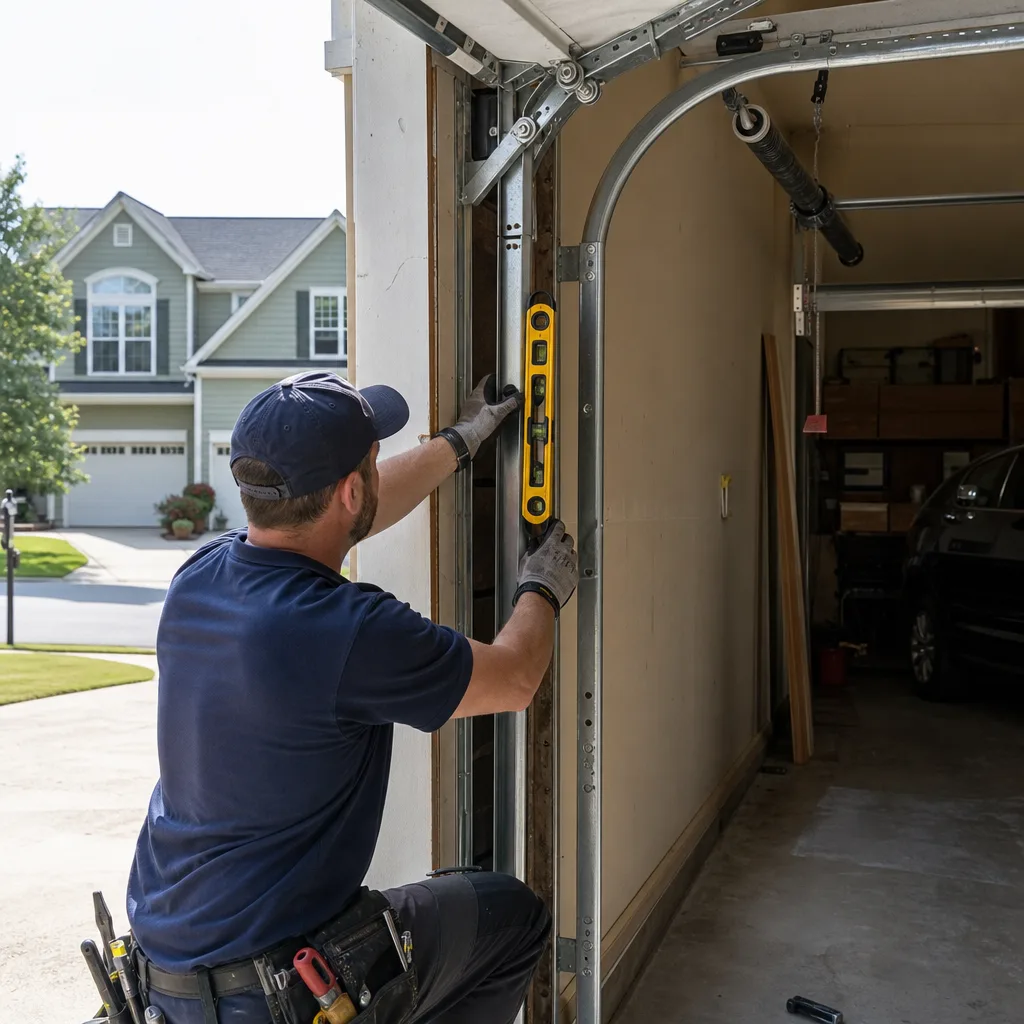
- Sensor alignment: DIY-moderate. Zero stored energy. Tools: level, screwdriver. Skill ceiling: low-moderate. Time: 15-30 minutes. Cost DIY: $0. Cost pro: $90-$130.
- Cable replacement: NOT DIY. Under full spring tension at all times. Skill ceiling: professional. Cost pro in Buford: $180-$300 per pair.
- Extension spring replacement: NOT DIY. Stored energy in tension. Skill ceiling: professional. Cost pro in Buford: $180-$280.
- Torsion spring replacement: NOT DIY. Stored energy in torsion. Skill ceiling: professional. Cost pro in Buford: $250-$450 including parts and labor.
- Track realignment: NOT DIY. Requires releasing tension and re-tensioning springs. Skill ceiling: professional. Cost pro in Buford: $150-$300.
- Full door installation: NOT DIY for most. Weight, alignment, and spring tension all interact. Skill ceiling: professional. Cost pro in Buford: $1,200-$3,500 depending on door size and material.
These price ranges reflect what we see across Buford, including neighborhoods like Bogan Park, Mill Creek, and the Hamilton Mill area. Your specific door size, spring type, and opener condition will move the number within the range. What should not move is the written price before work starts. If you hire, get the number in writing before anyone touches the door.
Torsion Springs Explained: What 150 Foot-Pounds Means in Plain Terms
A torsion spring looks like a thick coil of steel mounted horizontally above your door opening. It is the component that does most of the lifting when you open the door. When the door closes, the spring winds tighter and stores mechanical energy. When you open the door, the spring unwinds and releases that energy to help lift the weight of the door.
The math is straightforward. A standard residential torsion spring in a Buford home stores between 130 and 180 foot-pounds of torque. Here is what that means if it releases suddenly: a framing hammer swung hard delivers about 20 to 30 foot-pounds of force to a nail. A 150 foot-pound release is like taking five or six simultaneous hammer blows to whatever part of your body is in the way. Standard safety glasses protect against chips and dust. They do nothing against a winding bar moving at the speed of a released spring.
The tools matter. Proper torsion spring work uses two 18-inch winding bars made specifically for the diameter of the spring cone. Homeowners sometimes substitute screwdrivers or ratchet extensions. Those are not winding bars. They bend, slip, and turn a controlled winding operation into a missile launch. Professional spring work also involves checking the spring’s wire diameter, inside diameter, and length before ordering a replacement. The wrong spring changes how the door balances, which wears out the opener motor and can leave the door slamming shut or refusing to stay open.
What actual spring work requires:
- Two matched winding bars sized to the spring cone, typically 18 inches of solid steel rod
- Clamp on the track below the bottom roller to lock the door in place
- Correct spring identification: wire diameter, inside diameter, length, and wind direction (left vs right)
- Ability to count quarter-turns accurately while under tension, and to feel when the spring is winding down
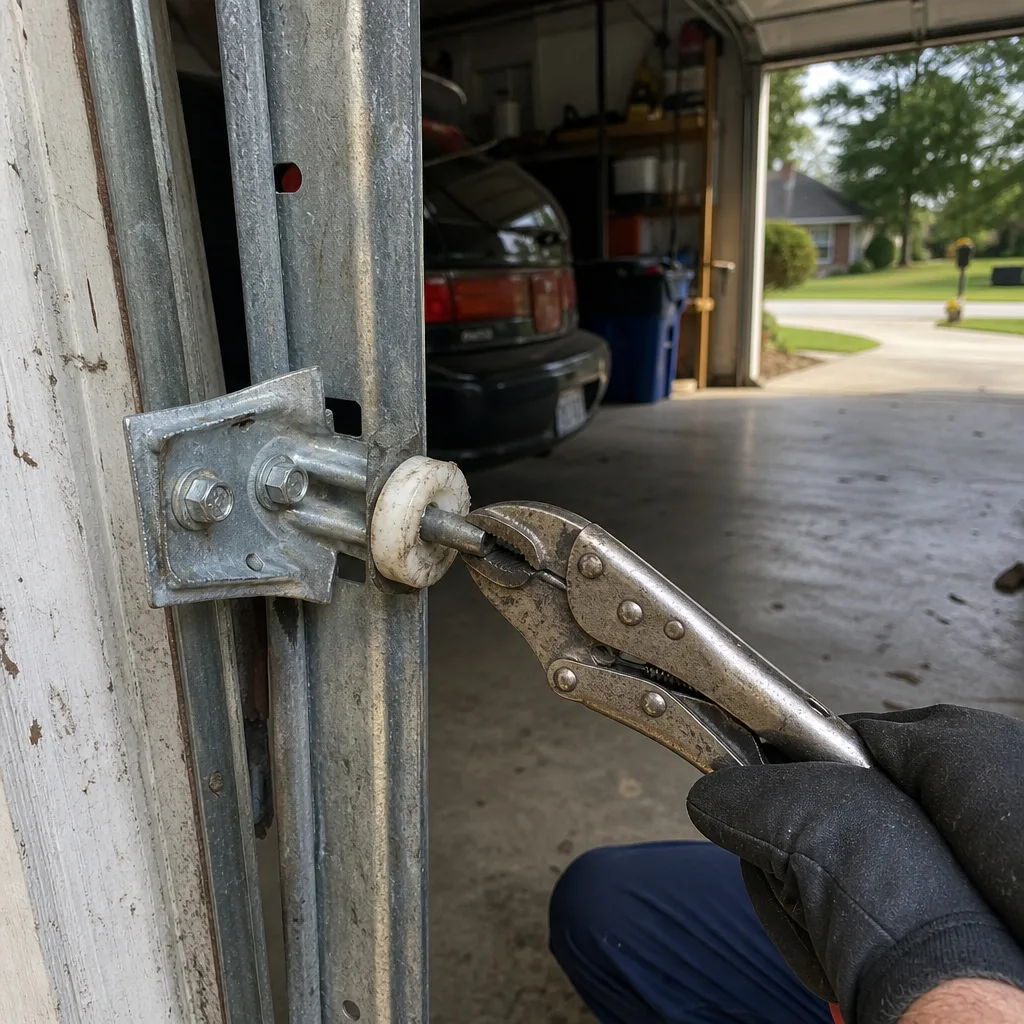
- Vice grips to secure the torsion tube before releasing the old spring
- Calibrated winding and unwinding sequence, typically 30 quarter-turns per standard door, with the bars alternated between cone holes
If any of those numbered items is unfamiliar, the spring is not your project. We are not going to provide a step-by-step spring tutorial in this guide for a reason: a written procedure cannot teach the feel of a spring winding down, and the margin for error is measured in quarter-turns. In Buford, professional spring replacement runs $250 to $450 all-in. The emergency room copay for a broken hand starts around that number and goes up from there. The math is not close.
Warranty Voiding Mechanics: What the Manufacturers Actually Say
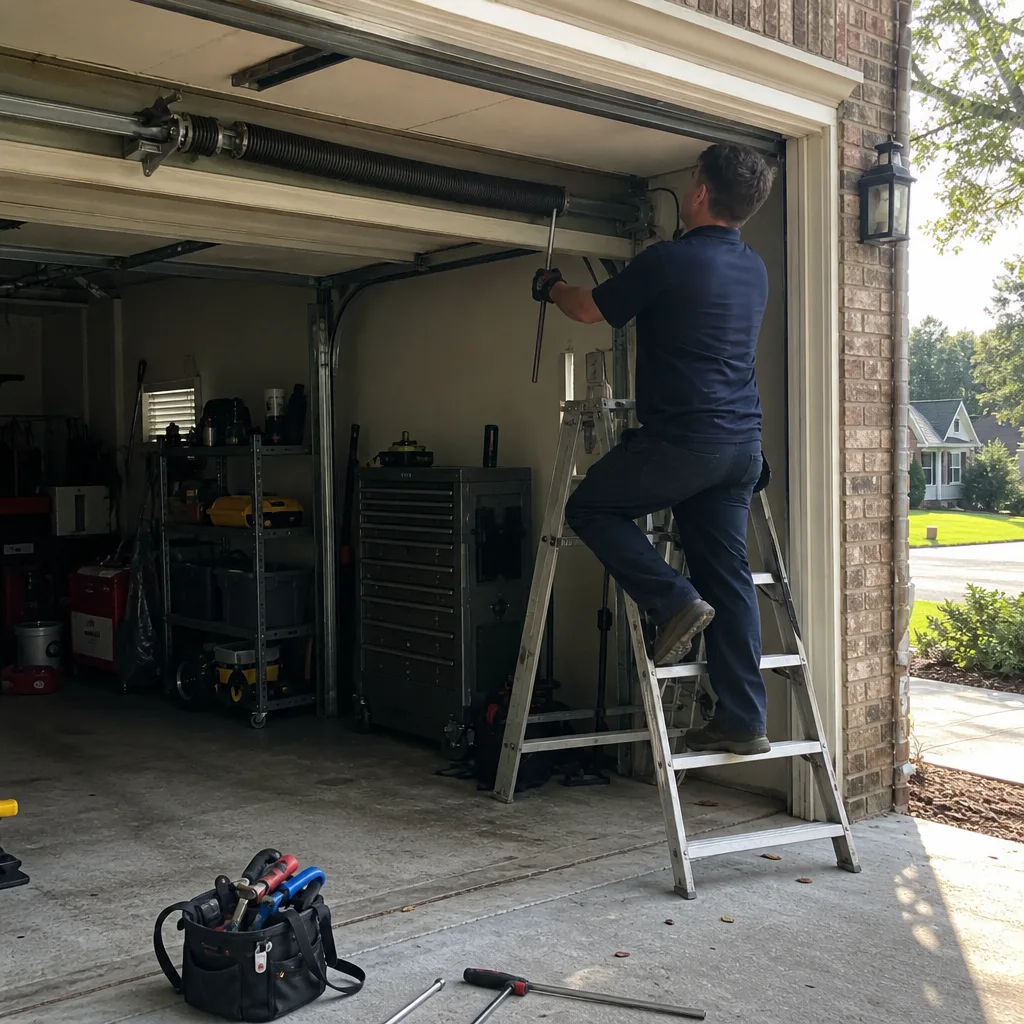
The warranty question is messier than most guides admit. It is not a simple yes or no. It depends on the manufacturer, the component, and whether the damage can be traced to the DIY work.
LiftMaster and Chamberlain, both owned by the Chamberlain Group, state in their written warranty terms that the warranty covers defects in materials and workmanship, not damage resulting from improper installation or service. In practice, if you install a LiftMaster opener yourself and the logic board fails six months later from a wiring error, the warranty claim gets denied. If the logic board fails and there is no evidence of installation error, the claim typically processes normally. The warranty follows the defect, not the installer.
Clopay takes a more explicit position. Their residential door warranty documents state that installation by a professional is recommended, and damage caused by improper installation or modification voids the finish and hardware warranties. Clopay does not require professional installation to activate the warranty, but they do require that the door be installed according to their written instructions. A DIY install that deviates from the manual is grounds for claim denial.
Wayne Dalton and Amarr have similar language. The warranty covers manufacturing defects. It does not cover field modifications, improper installation, or damage from use of non-manufacturer parts. What this means for a Buford homeowner is practical: if you install a door or opener yourself and it fails because of something you did during installation, the warranty will not save you. If it fails because of a defect and your installation was clean, you are generally covered.
Craftsman openers, sold through Lowe’s and other retailers, carry the same Chamberlain Group warranty structure as LiftMaster. The key clause in most of these documents is the exclusion for damage caused by “unauthorized service.” What counts as unauthorized is where documentation matters. If you hired a professional, keep the invoice and the work description. If you DIY’d the install, keep every receipt. The paper trail is what separates a denied claim from a paid one.
One more point worth stating plainly: none of the major manufacturers require you to use a specific service company to maintain warranty coverage. A few require professional installation for commercial or high-cycle doors, but for residential doors, the warranty language is about proper installation, not professional installation. The distinction matters. The written instructions from the manufacturer are the warranty standard. Follow them or hire someone who will.
The True Cost Calculation: When a Failed DIY Attempt Costs More
The cost question is not just parts versus labor. It is the cost of the DIY attempt that works, versus the cost of the DIY attempt that fails and then needs professional extraction. We see the second version regularly in Buford, and it is always more expensive than the professional job would have been from the start.
Here is the math on a common example. A homeowner attempts a torsion spring replacement. They buy a pair of springs online for $60, spend $40 on winding bars, and spend three hours on the job before the spring starts winding down unexpectedly and they stop. They now have a door clamped in place with a partially wound spring, and they call us. The price we quote includes unwinding the half-done spring, checking the torsion tube for damage, installing correctly sized springs, balancing the door, and running a full cycle test. That runs $250 to $450. Add the $100 they spent on parts and tools. The total is $350 to $550 for a job that would have cost $250 to $450 if we had done it from the start. The DIY attempt added $100 to $200 to the final bill.
The spring example is the expensive one. Other examples follow the same pattern on a smaller scale. A homeowner replaces a bottom seal incorrectly, the seal binds, and the door reverses on the way down. The fix requires removing the mis-installed seal and doing it again. A homeowner adjusts the opener force settings too high, the door closes on a trash can, and the door panel bends. Panel replacement runs $400 to $800.
The rule we give Buford homeowners is simple: if the part costs less than $50 and has zero stored energy, the worst case is a wasted afternoon. If the part has stored energy or the mistake could damage the door itself, the worst case is the professional price plus the cost of fixing your attempt. That second number is always higher.
Gwinnett County Permits and DIY Work: What You Can and Cannot Self-Permit
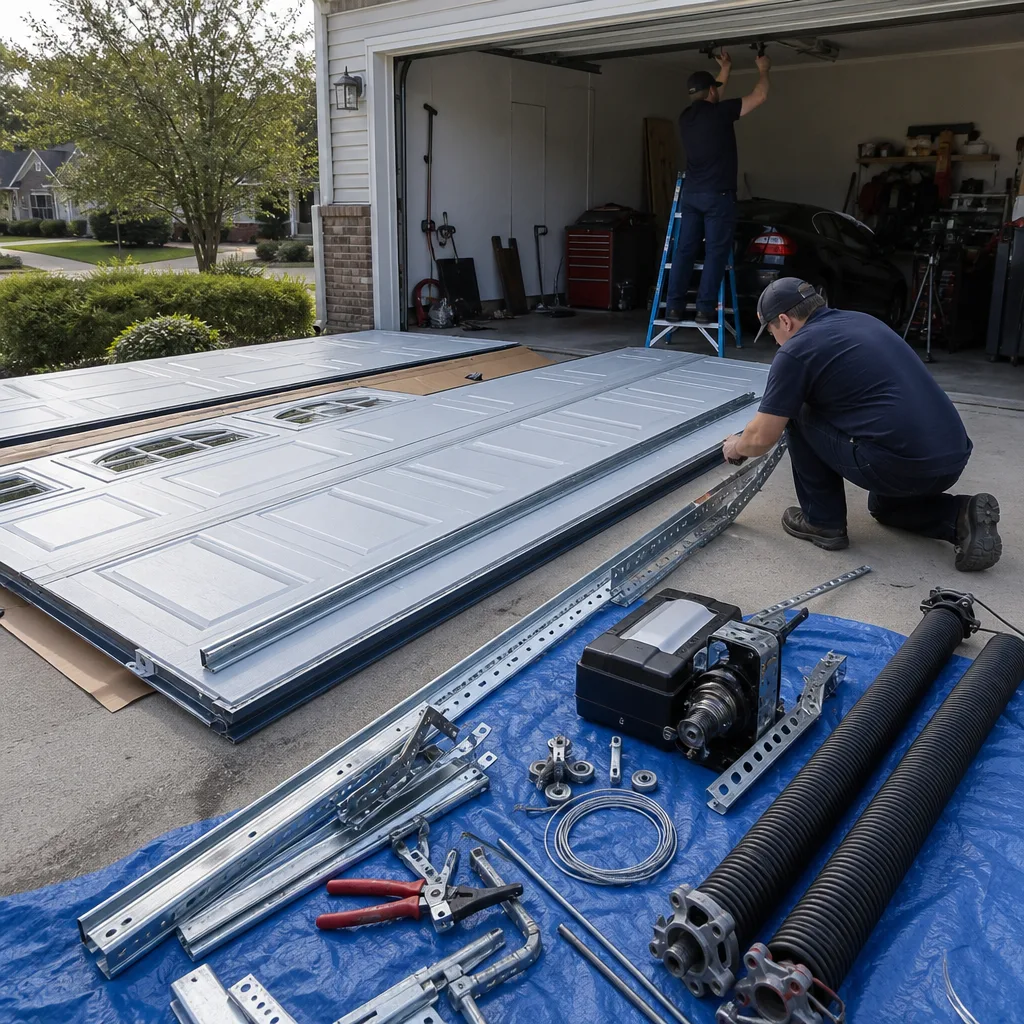
Georgia law and Gwinnett County code treat garage door work differently depending on whether it is a repair or an installation. Understanding the line matters because Garage Door Permits, Codes & Inspections in GA: What You Need to Know do not always align with what feels like a minor job.
Repairs are generally exempt. Replacing rollers, springs, cables, hinges, openers, or weatherstripping on an existing door does not require a permit in Gwinnett County. The work is classified as maintenance or repair of an existing structure, and the county does not require a permit for that category. This applies whether you do the work yourself or hire a contractor.
Full door installations are different. When a garage door is replaced as part of a larger project that includes structural changes, such as widening the opening, reframing, or modifying the header, a building permit is required. In Georgia, homeowners can pull their own building permits for work on their primary residence, but the county requires the work to meet current code, and the permitting office will ask for drawings and specifications. For a straightforward door replacement in the same opening, most Gwinnett County inspectors treat it as a repair even if the door itself is new. The distinction is structural change versus in-kind replacement.
What a Buford homeowner cannot do is pull a permit that certifies work performed by an unlicensed contractor. If you hire a handyman to replace a door and the job requires a permit, that handyman must be licensed and insured in Georgia. You cannot obtain the permit in your name and have unlicensed labor perform the work. That structure exists in some states for some trades. Georgia does not allow it for garage door installation when a permit is required.
For most Garage Door Installation in Buford, the practical answer is that no permit is needed for an in-kind replacement. If you are changing the opening size, reframing, or doing structural work, call Gwinnett County Planning and Development before you start. And if a contractor tells you they will handle the permit, confirm the permit number before work begins. A licensed contractor who cannot produce a permit number on request is not pulling a permit.
The DIY-Safe List: Seven Jobs You Can Do This Weekend
Here are seven garage door maintenance and repair tasks that a Buford homeowner with basic tools can complete safely. Each one has zero stored energy risk and a skill ceiling that does not exceed moderate. The tools are common. The time requirements are honest.
- Lubricate the door. Use white lithium grease on the hinges, rollers, and bearings. Silicone spray on the weatherstrip and lock mechanism. Do not use WD-40 on moving parts, it is a solvent, not a lubricant. Time: 20 minutes. Frequency: every six months in Buford’s humid climate, which accelerates rust on metal components.
- Replace the bottom seal. The rubber strip at the bottom of the door degrades in Buford heat and lets water, pests, and leaves into the garage. Slide the old seal out of the retainer channel, cut the new seal to length with a utility knife, and slide it in. Time: 45 minutes. Cost: $20-$40. This is the single highest-value DIY task for most Buford garages.
- Check and tighten bolts and brackets. Every hinge, track bracket, and roller mount on the door vibrates during operation. Over time, bolts loosen. Go around the door with a socket set and snug everything. Do not overtighten hinge-to-panel bolts, which can strip the wood or composite core. Time: 30 minutes.
- Clean and align the safety sensors. The photo eyes near the floor on either side of the door get bumped, dusted, or knocked out of alignment. Wipe the lenses with a dry cloth, check that the indicator lights are solid, and adjust the brackets until both lights are steady. Time: 15 minutes. No tools beyond a screwdriver.
- Replace the weatherstrip on the sides and top. The vinyl trim that runs around the door opening cracks in the sun. Pull the old strip, measure, cut the new piece to length, and nail it in with roofing nails spaced every 12 inches. Time: 1-2 hours. Cost: $40-$80 for a full perimeter.
- Test and reset the opener’s force settings. Every opener has a force adjustment dial or menu setting that controls how hard the motor pushes before reversing. If your door reverses when it should not, or does not reverse when it should, consult your opener manual and adjust. Time: 20 minutes. This fixes many false-reversal problems without a service call.
- Replace opener remote batteries and reprogram if needed. Dead remotes are the most common “my opener is broken” call we get. Replace the battery first. If the remote still does not work, follow the manufacturer’s pairing sequence, usually a learn button on the motor unit. Time: 10 minutes per remote.
For anything beyond this list, or for anything on the list that does not resolve the issue, Garage Door Repair in Buford is a phone call away. The estimate is free, written, and valid before any work starts.
Common Mistakes to Avoid
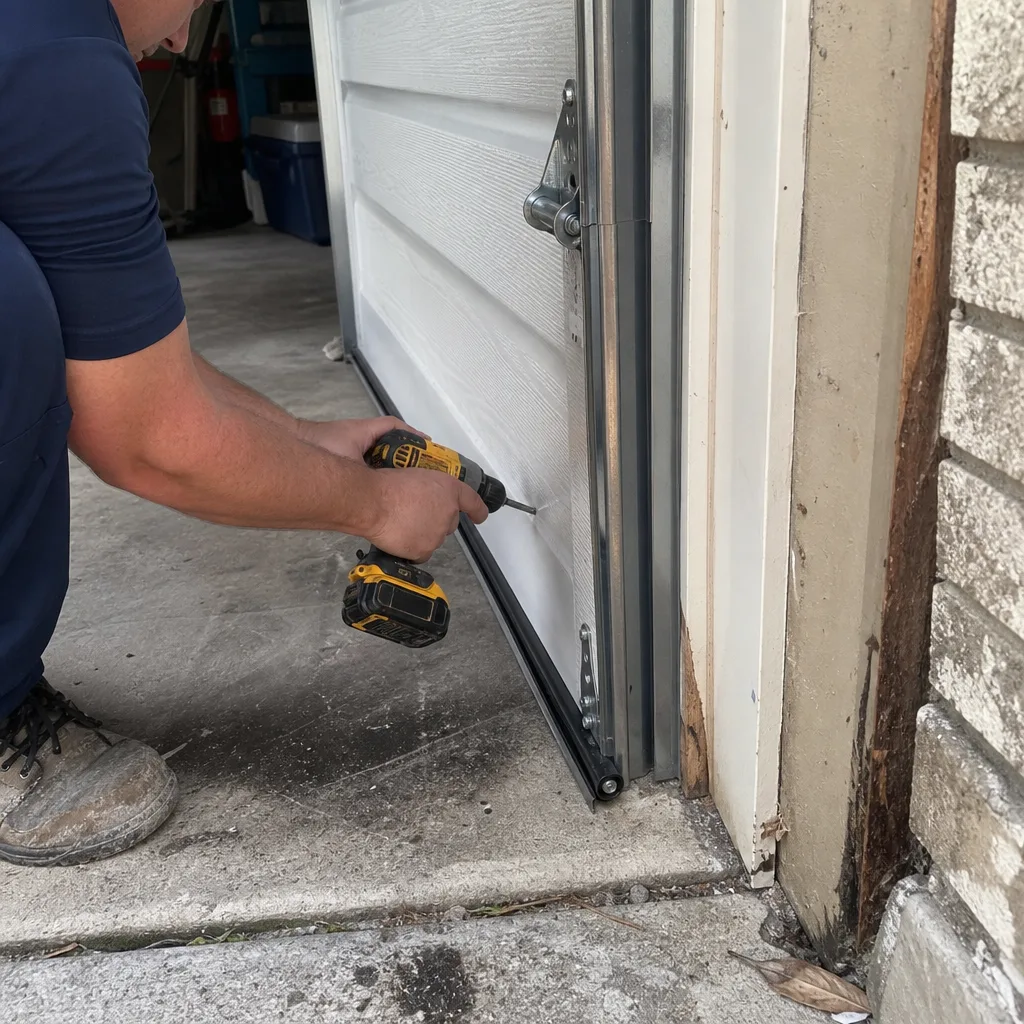
- Using the wrong lubricant. WD-40 is a solvent. It will strip the existing grease and leave the door noisier than before. Use white lithium grease on metal-to-metal contact points or silicone spray on non-metal parts.
- Replacing one spring instead of both. Torsion springs are installed in pairs and wear together. If one breaks, the other is close behind. Replacing only the broken spring leaves the door unbalanced and means another service call within a year. In Buford, we see this constantly with ten-year-old doors.
- Removing the bottom roller bracket. The bottom bracket is attached to the lift cable, which runs under spring tension. Removing the bracket releases that tension instantly. This is the number one DIY injury we hear about from Buford homeowners who attempted a roller replacement.
- Skipping the manual. Opener force settings, limit adjustments, and sensor alignment all differ by model. The manual is the correct reference. YouTube videos are generic. Your opener is specific.
- Buying springs by guesswork. Torsion springs are sized by wire diameter, inside diameter, length, and wind direction. A spring that looks the same on the shelf is not the same. The wrong spring changes door balance and shortens opener life. In Buford’s residential market, most standard doors use a 0.225 to 0.250 wire diameter, but the only way to know is to measure the existing spring, not to guess.
- Ignoring a frayed cable. A cable with visible fraying is a countdown, not a cosmetic issue. When it snaps, the door slams down or the remaining cable takes full load and fails next. Cable replacement is a professional job in every case.
- Adjusting spring tension to “fix” an opener problem. If the opener struggles, the issue is usually the opener, not the spring. Adding spring tension to compensate for a weak opener creates an unbalanced door that is dangerous to operate. Diagnose the actual problem before touching anything.
When to Call a Professional
Call a professional when the part stores energy. Torsion springs, extension springs, lift cables, and bottom brackets under cable tension all fall into this category. No YouTube tutorial changes the physics. Call a professional when the door is visibly out of square, when a panel is dented or cracked, when the opener makes grinding noises, or when a repair requires releasing spring tension to complete. Call a professional when the door will not open and your car is inside. The urgency is real, but the fix still requires proper tools and a documented process. Servo Garage Doors Buford offers free estimates in Buford, and every job gets a written price and scope before work begins. Call (470) 458-9647 and a real person answers, 24/7.
Frequently Asked Questions
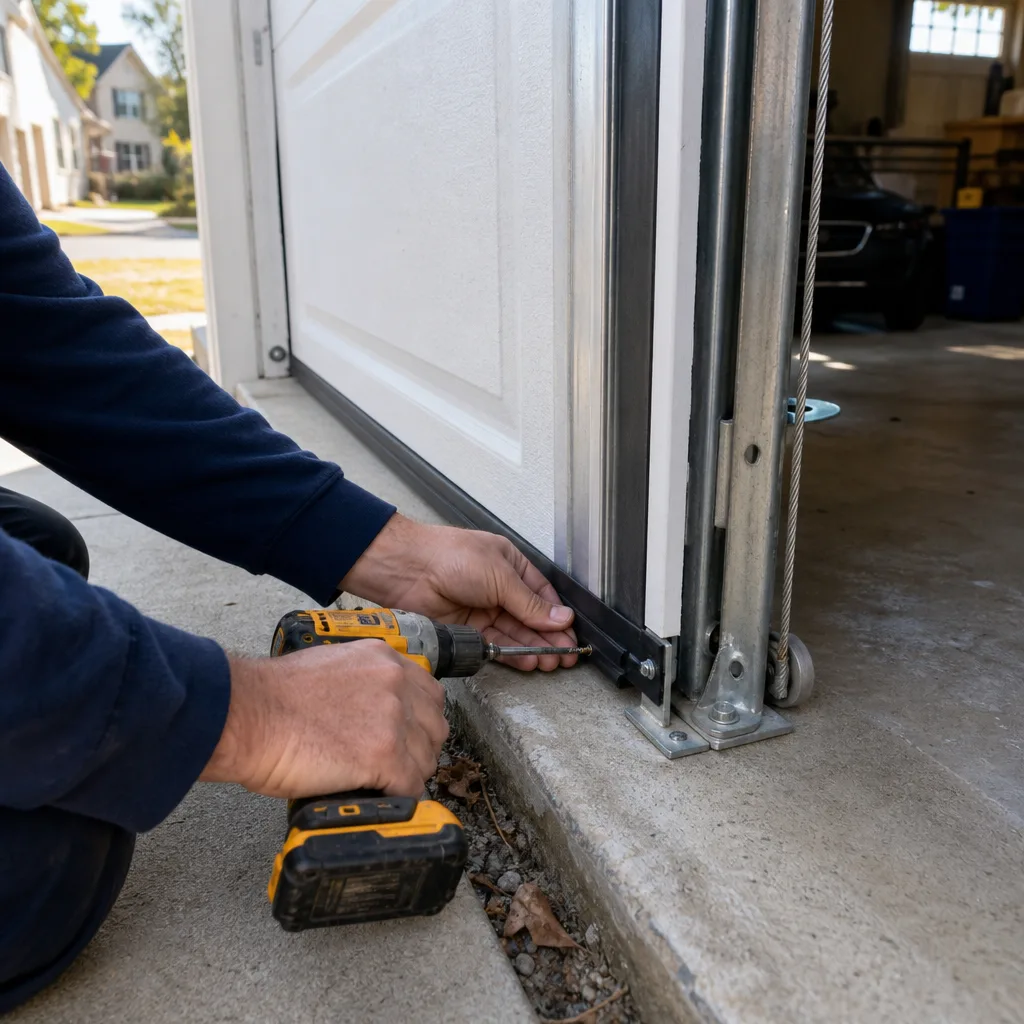
You should not replace a torsion or extension spring yourself under any circumstances. The stored energy in a wound torsion spring is 130 to 180 foot-pounds on a standard Buford residential door, and a slip releases that energy instantly through whatever is in the way. Professional spring replacement in Buford runs $250 to $450 including parts and labor, which is less expensive than the emergency room copay for the injuries that DIY spring work produces. Call (470) 458-9647 for a written quote before anyone touches the door.
Homeowners can safely replace the bottom seal, weatherstripping, hinges, and hinge-mounted rollers, and can lubricate the door, align safety sensors, reprogram remotes, and adjust opener force settings. The safe list is any component with zero stored energy. The unsafe list is any component under spring tension or torsion, including cables, springs, bottom brackets, and track realignment that requires releasing tension.
Most Buford garage door repairs run between $100 and $450 depending on the component. Bottom seal replacement runs $120 to $180. Roller replacement runs $150 to $250. Cable replacement runs $180 to $300. Torsion spring replacement runs $250 to $450. The price is quoted in writing before work starts, and it does not change once the work begins unless you approve a change in scope.
DIY work voids a warranty when the manufacturer can trace the failure to improper installation or service. Clopay, Wayne Dalton, Amarr, LiftMaster, Chamberlain, and Craftsman all exclude damage caused by improper installation or unauthorized modification. A clean DIY install that fails due to a manufacturing defect is generally still covered. Keep receipts and document what you did.
An in-kind replacement in the same opening does not require a permit in Gwinnett County. A structural change, such as widening the opening or reframing, requires a building permit, and Georgia does not allow a homeowner to pull a permit for work performed by an unlicensed contractor. Repairs like spring replacement, cable replacement, and opener work are permit-exempt.
For a broken spring or a door that will not open, same-day service is available across Buford, including the Mill Creek, Bogan Park, and Hamilton Mill areas. The phone is answered by a live person 24 hours a day, seven days a week. Garage Door Opener Repair and Installation in Buford covers emergency opener failures as well as planned upgrades. Call (470) 458-9647 and get a written price before the technician arrives.
The Bottom Line
The DIY versus professional question has a component-specific answer, not a general one. Bottom seals, hinges, weatherstripping, and lubrication are homeowner work. Springs, cables, and anything under tension are professional work. The line is stored energy, not skill. In Buford, the cost of a failed DIY spring attempt runs $100 to $200 higher than hiring a pro from the start. The warranty landscape rewards documentation, not loyalty. And the Gwinnett County permit rules are simple: repairs are exempt, structural changes are not. When the job crosses the stored energy line, get a written price before work begins. That is how the good companies in Buford operate. For more guides & resources, visit our blog. That is how we have operated since 2015.
Written by Marcus Deller, Owner at Servo Garage Doors Buford, serving Buford since 2015.