
Last updated September 20, 2026
Full 25-point door and opener safety check with every visit - springs, cables, rollers, tracks, and your LiftMaster or Chamberlain opener included
You get a price before we start. It does not change when the truck arrives.
Full-view glass
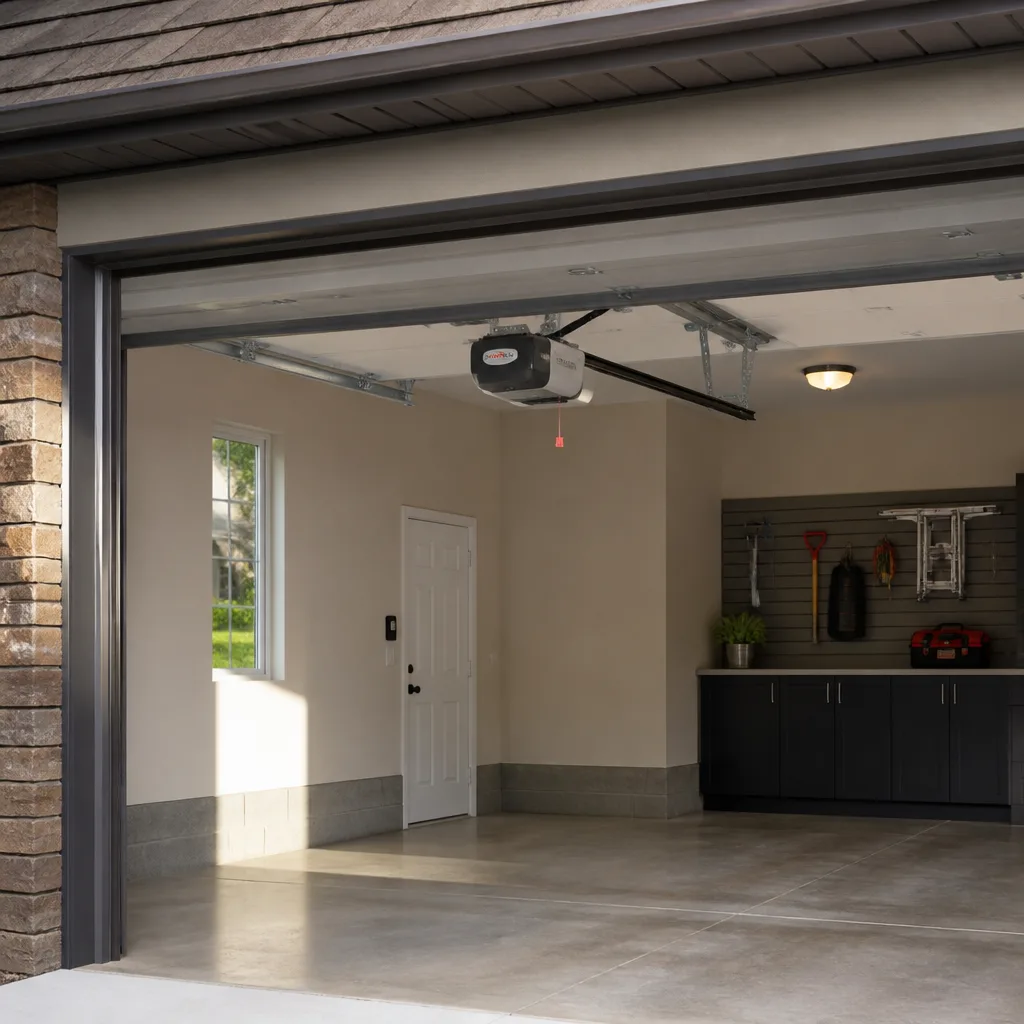
Chamberlain openers
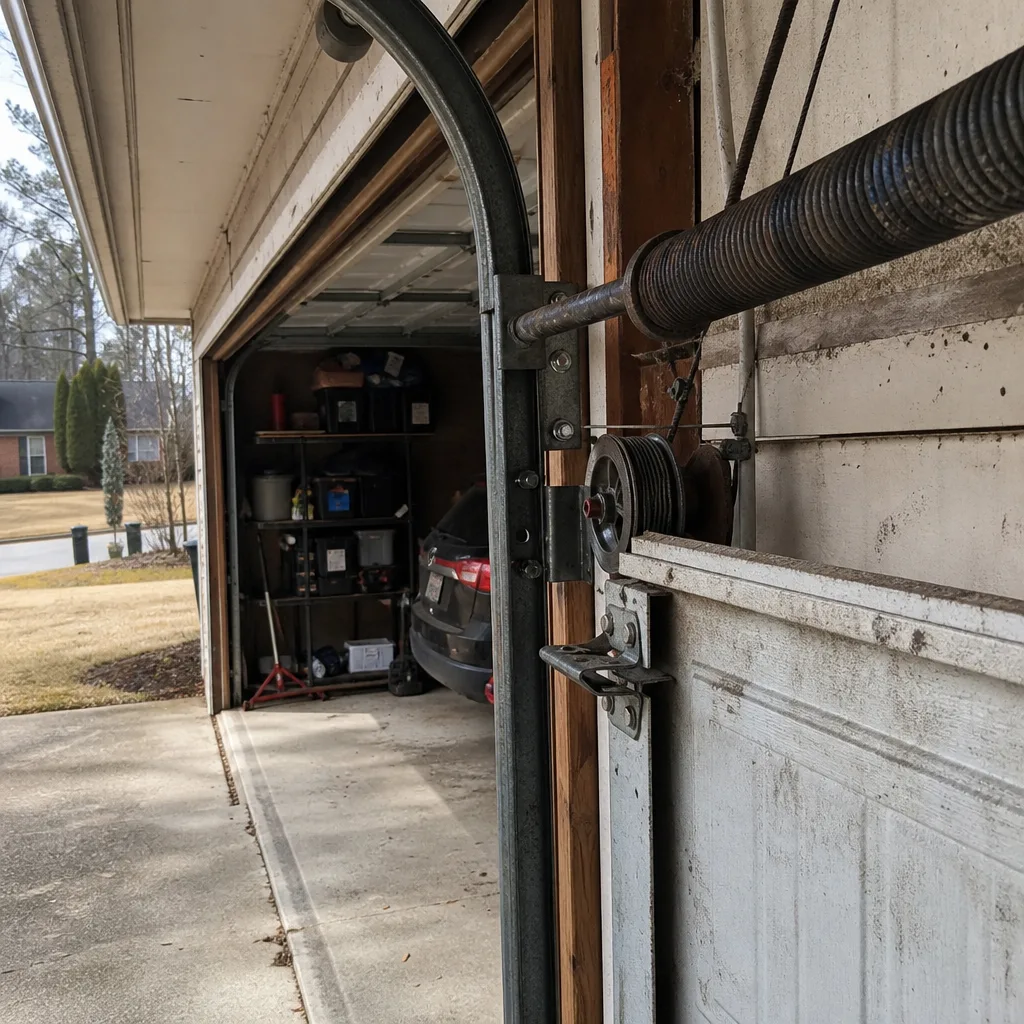 Before
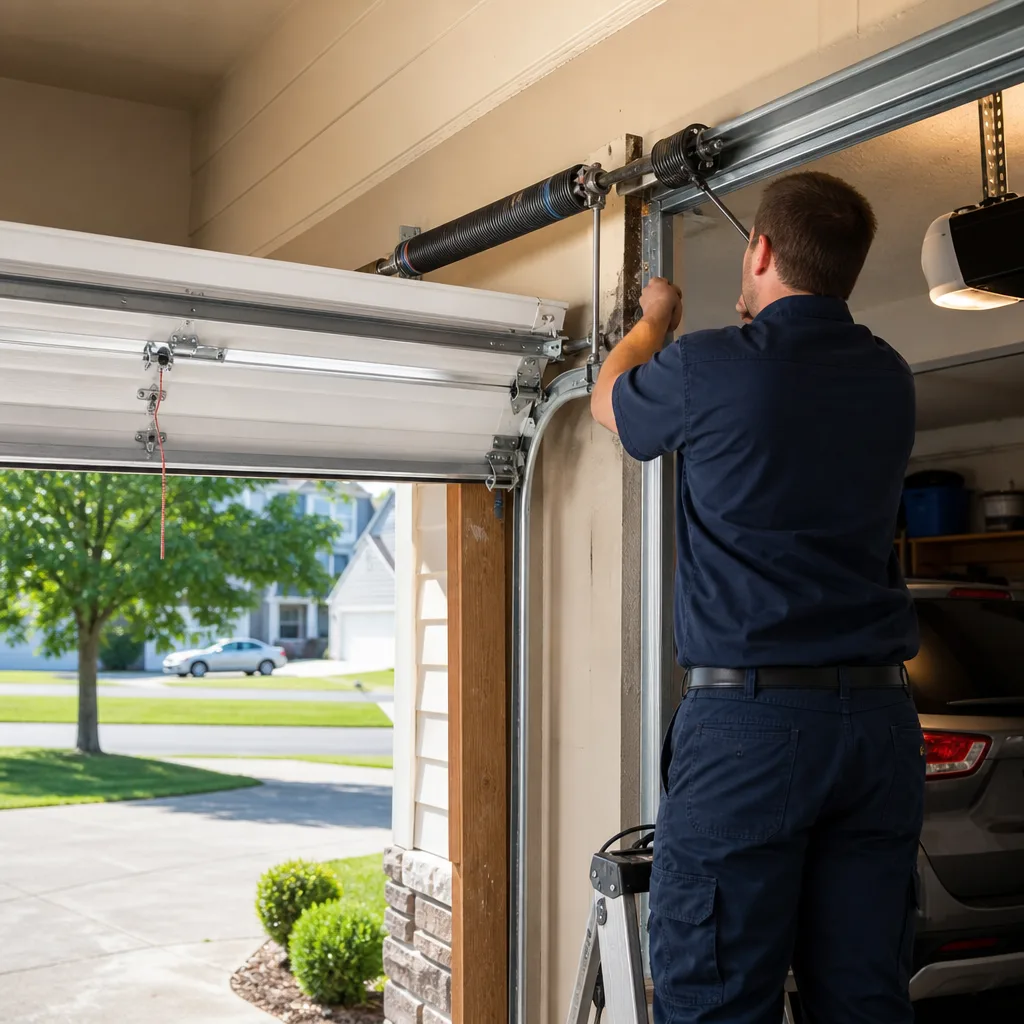 After
After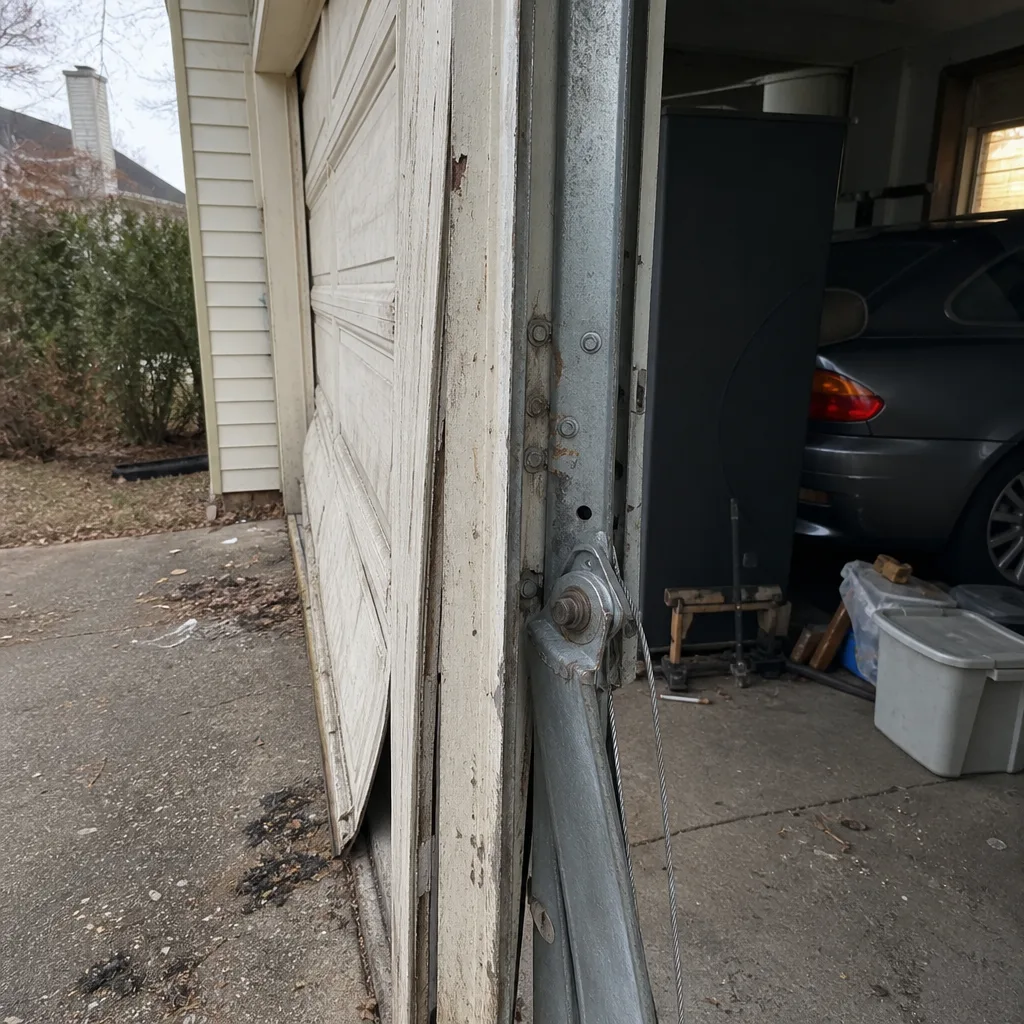 Before
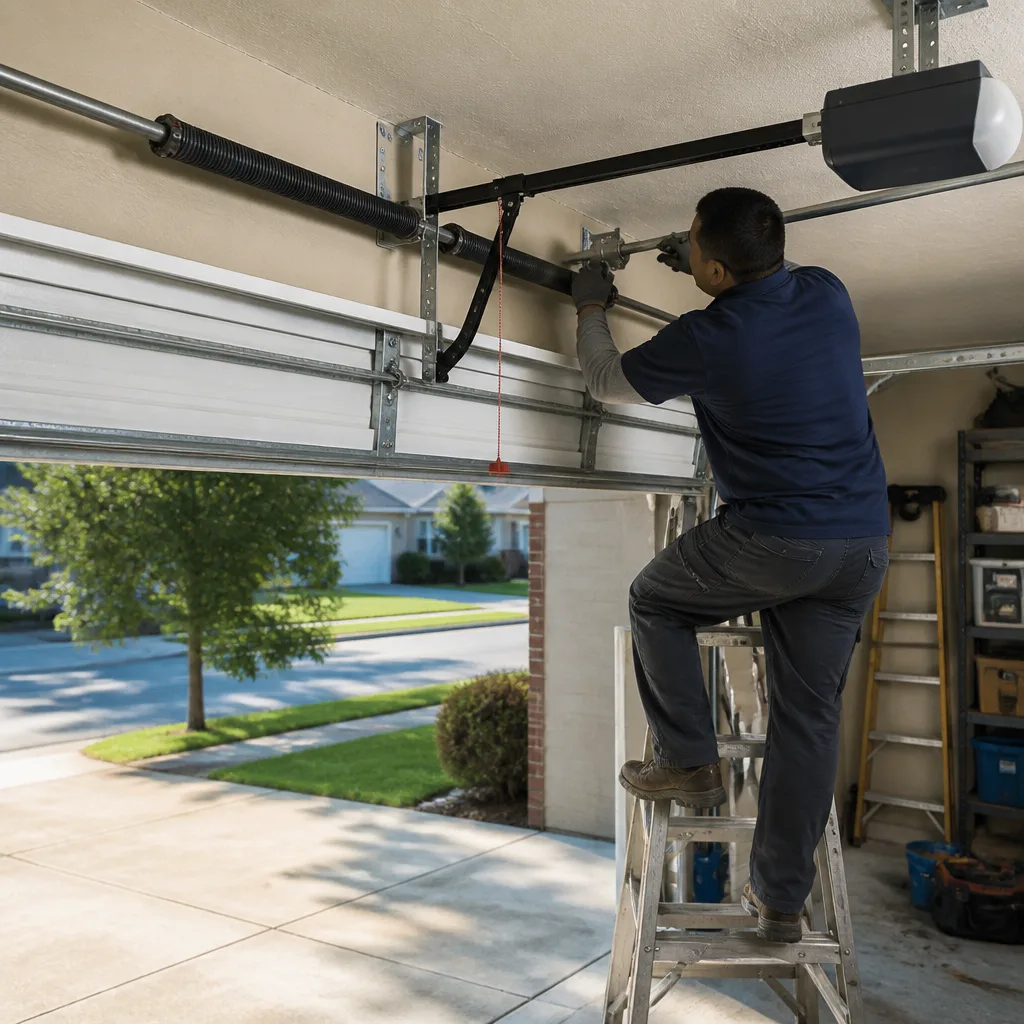 After
After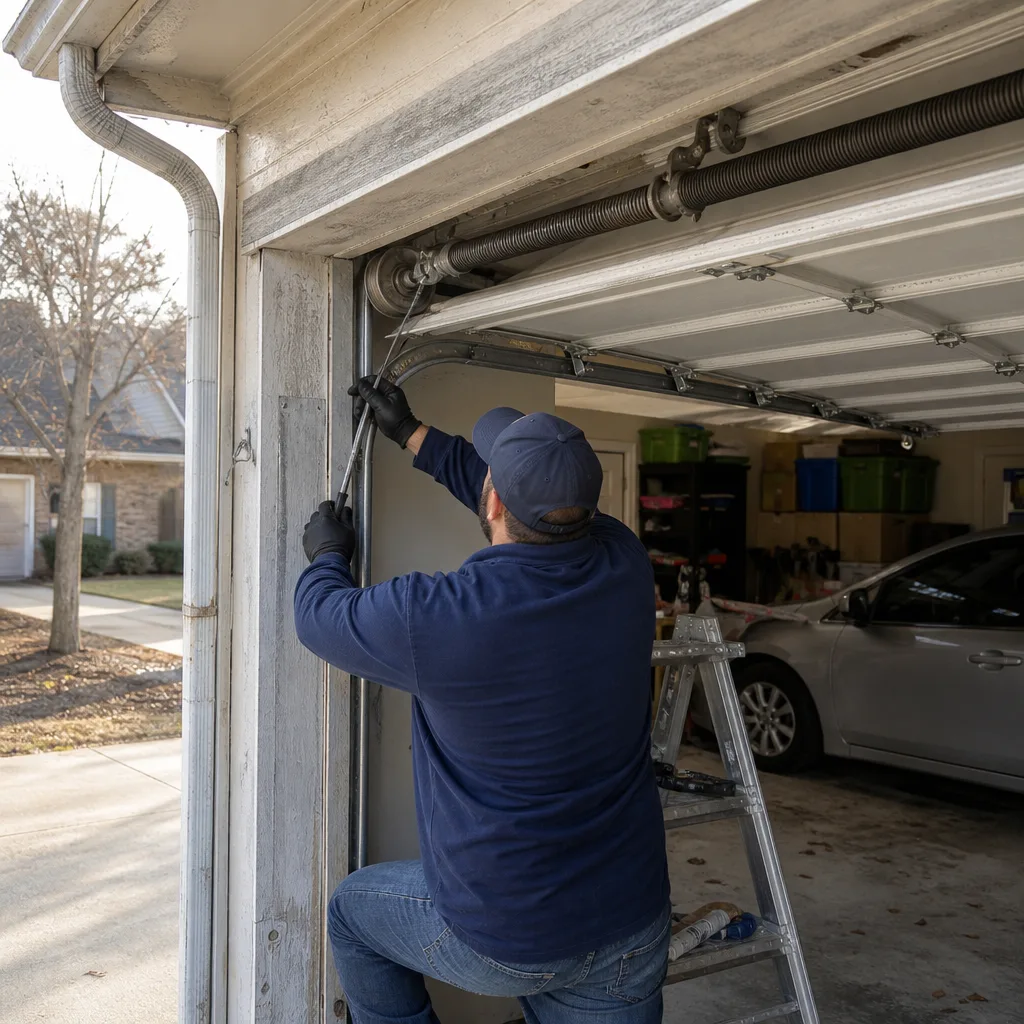 Before
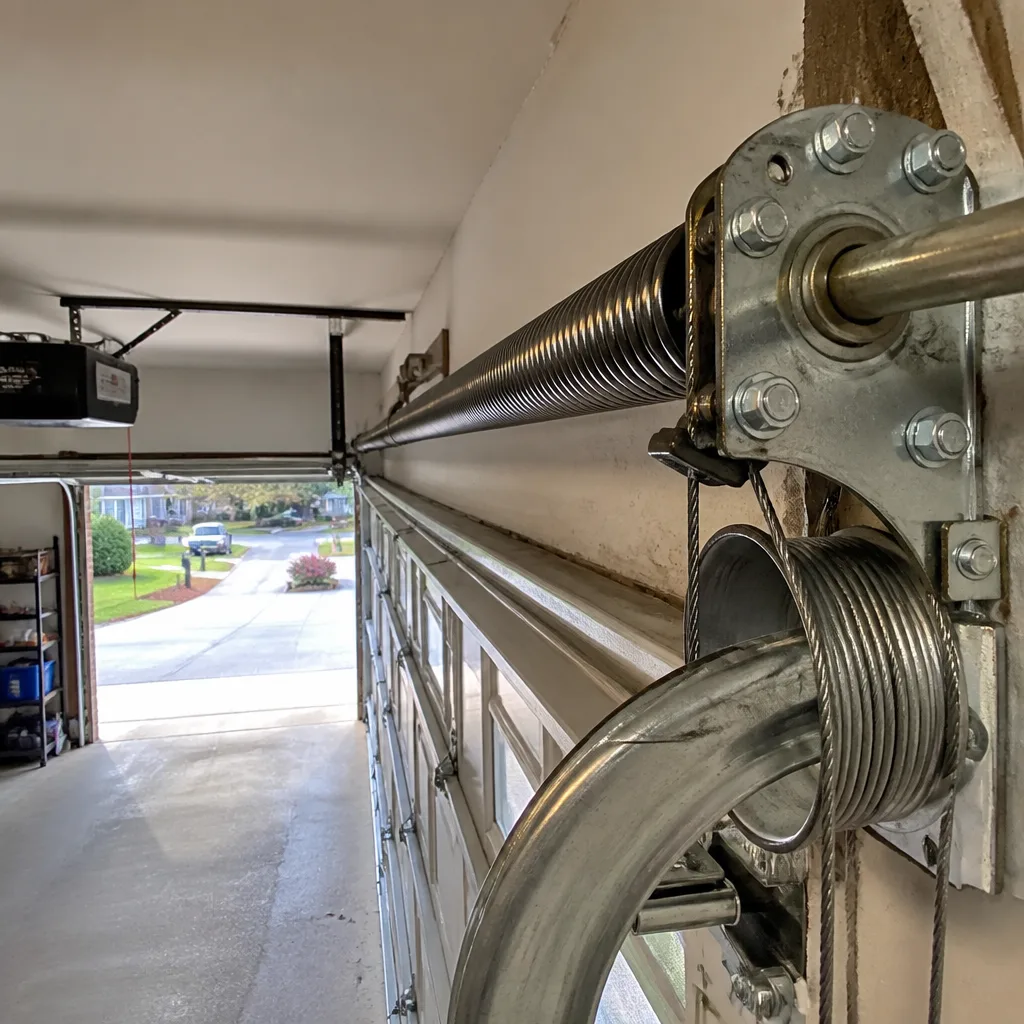 After
AfterGarage Door Repair Maintenance Checklist for Buford Homeowners
Here’s the counterintuitive truth about garage door maintenance in Buford: the task that gets skipped most often on published checklists is the one most likely to cost you real money. Checking bottom seal compression against the garage floor takes under two minutes and the replacement part costs around $40. Yet in our experience across Gwinnett County, failed bottom seals are the single biggest contributor to garage water damage during storm season. This guide gives you the numbers behind every maintenance task, so you’re not just looking at parts, you’re measuring them against thresholds that tell you whether the part needs attention. And when something does need Garage Door Repair, you’ll know exactly what to document before you call.
Quick Answer
A garage door maintenance checklist for Buford homeowners should run monthly, quarterly, and annually, with specific pass/fail measurements for each component: spring tension via a 2-inch manual lift test, track plumb within 1/8 inch over 7 feet, bottom seal compression with a dollar bill test, and lubrication using white lithium grease on hinges and tracks but never on springs unless they’re coated torsion springs. Document every inspection in a log so any technician can read the history before touching the door.
Table of Contents
- Monthly Maintenance Checklist: The 15-Minute Inspection
- Quarterly Maintenance: Lubrication and Adjustment Work
- Annual Maintenance: Deep Inspection and Measurements
- The Bottom Seal Check: Buford’s Most Skipped Task
- How to Measure Spring Tension Without Touching the Spring
- Lubrication Spec: What Goes Where and What Never Touches a Garage Door
- The Documentation Log: What to Record and Why It Matters
- Common Mistakes to Avoid
- When to Call a Professional
- Frequently Asked Questions
- The Bottom Line
 Before
 After
AfterMonthly Maintenance Checklist: The 15-Minute Inspection
The monthly pass is visual and tactile. We call it the walk-and-watch because every step happens while the door operates once through a full cycle. Buford’s heat and humidity mean steel and aluminum components corrode faster than they do in drier markets, so a monthly cadence catches surface rust and fastener loosening before they compound.
Run the Door and Watch It Move
The door should move smoothly on both sides with no jerking or hesitating mid-travel. If one side lags, the door is out of balance, which means additional load on one spring, and a spring under unequal load breaks earlier than a balanced one. Listen for grinding, squealing, or thumping. A squeal you can locate at the roller or hinge is lubrication. A grinding you cannot locate by ear is often the opener’s drive gear beginning to fail.
Check Fastener Tightness
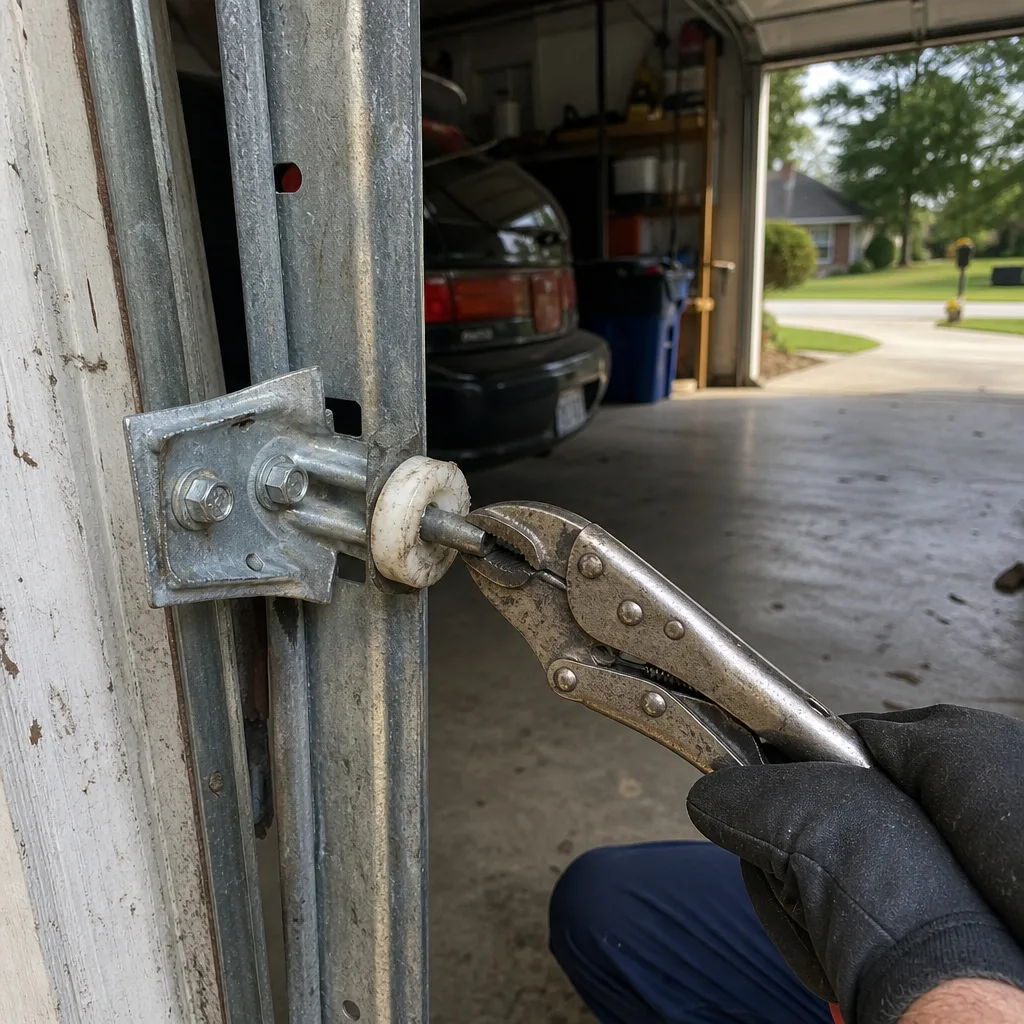
Garage door panels are held together by hinge bolts and track bolts that vibrate loose over time due to the door cycling. Every month, run a 7/16-inch wrench over the hinge bolts that connect panels and the jamb brackets that hold the track to the wall. The spec: no bolt should turn more than an eighth of a turn under moderate pressure. This is not about cranking them, it is about catching movement before a panel separates.
Test the Auto-Reverse
Place a 2×4 flat on the garage floor under the path of the door. Close the door. When the door contacts the wood, the auto-reverse must stop the downward travel and reverse direction with
The door’s downforce is controlled by a limit switch and a force adjustment dial on the opener. If the door does not reverse when it meets the 2×4, stop using the door and call a professional. That failing mechanism is a safety concern for children and pets, and federal law requires it to function on every overhead door installed since 1993.
The Ten-Second Visual Sweep
Once per month, with the garage light on, walk along each track and look for: red or orange dust beneath the spring or track, which indicates metal-on-metal wear; a track gap widening at any seam; and cable strands beginning to fray. A frayed cable on a lift cable has an average remaining life of 50-75 cycles, which in Buford is about two weeks of normal use before it snaps, and a snapped cable can drop the door.
This monthly pass takes 15 minutes. If you do nothing else on this checklist, do the bottom seal check and the monthly fastener pass. The rest of the work scales to quarterly and annual intervals, where the deeper measurements live.
If the monthly pass reveals an issue, Garage Door Repair in Buford starts with a written price before any work begins. That keeps the decision about whether to fix it free of surprise costs.
Quarterly Maintenance: Lubrication and Adjustment Work
Quarterly maintenance separates homeowners who are leaving performance on the table from those protecting the largest door in their house. Buford’s spring and fall shoulder seasons are the time to do this work: after the pollen season and before the winter cold snap stiffens metal and old grease. The quarterly pass adds lubrication, balance testing, and cable inspection to the monthly walk-through.
Lubricate at the Right Points With the Right Product
Every garage door has four lubrication points and each takes a specific product. Start with the hinges. Apply white lithium grease to every hinge pivot point where the hinge folds. You want a thin coat, not a dripping bead. Next, the rollers: if your rollers are steel with ball bearings, a drop of lightweight oil at each bearing is sufficient. If your rollers are nylon, the bearing still takes oil, but you must never oil the nylon wheel itself because oil attracts dirt that accelerates wear. Third, the track: wipe the interior of the track clean with a dry rag, do not lubricate the track surface. Lubrication in the track creates a paste with the dust and grime that Buford’s summer air deposits, and that paste binds the roller and makes the door run harder. Fourth, the torsion spring: only if the spring is a coated torsion spring should you apply a light coat of garage door lube spray along the length of the coil. Never use grease on a torsion spring, because the thick carrier prevents the spring from seating properly when it unwinds and winds.
For every lubrication task, avoid the one product that causes the most damage: WD-40. It is a solvent, not a lubricant, and it strips the protective coating from hinges and rollers while thinning existing grease. Use white lithium grease, silicone spray, or a product specifically labeled for garage door components. A can lasts about a year for a single-door homeowner doing quarterly maintenance.
Test the Balance With the Manual Lift Test
The manual lift test is the most accurate at-home check for spring health, and it does not require touching a spring. Pull the manual release cord to disengage the door from the opener, then lift the door from the closed position to about waist height using the handholds, not the handle, which is not rated for lifting force. Let go. A properly balanced door remains where you release it, neither rising nor settling more than one inch. If the door falls, the springs have lost tension and need replacement or adjustment. If the door rises, the springs are over-tensioned, and the opener is working harder than it should every time it cycles. In Buford, seasonal temperature swings of 30 degrees or more between day and night can shift spring tension enough that a door balanced in August needs recalibration by January. Quartermaster testing catches this drift before the spring fails.
Inspect the Cables for Fraying and Deterioration
Lift cables are under tons of tension, and the failure mode happens quickly once fra
Inspect both cables at the bottom bracket where they attach to the door and at the drum where they wind. Run your finger lightly along the cable, not with pressure, to feel for a broken strand, and look for any rust-colored powder that signals corrosion inside the cable. If you see any of these conditions, do not attempt to adjust the cable yourself. A lift cable under tension can cause severe injury when it snaps. Call a professional who will quote the replacement with a written price before any work begins.
Annual Maintenance: Deep Inspection and Measurements
The annual maintenance pass is the difference between catching a bearing before it fails and repairing a door after it falls out of its track. We recommend doing it in the spring, before Buford’s summer thunderstorm season adds moisture stress to every rust-prone component. It takes about an hour, and it produces the measurements that tell you whether you are maintaining a door that will last or maintaining a door that is quietly failing.
Measure Track Plumb and Alignment
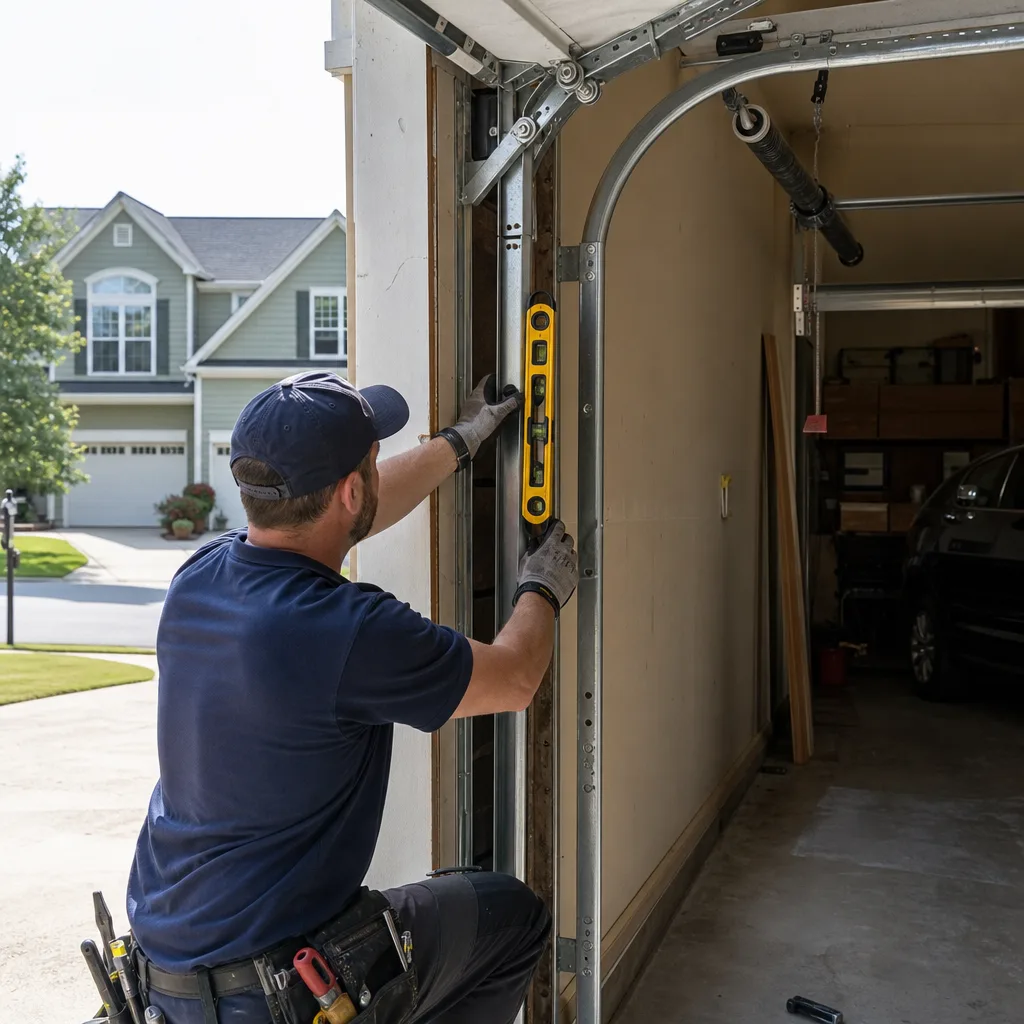
Garage door tracks must run plumb within 1/8 inch over a 7-foot section. Measure using a carpenter’s level held against the vertical portion of the track at both the top and the bottom. If the bubble sits inside the marked lines at both points, the track is straight. If it does not, the track has shifted, and the door is wearing its rollers unevenly, which shortens roller life and adds stress to the hinges. Do not attempt to realign a track yourself. Track adjustment involves loosening jamb brackets under load, and a track that slips during adjustment can drop the door or pinch fingers and hands.
Check Roller Wear by Spin Test
With the door closed, disengage the opener and manually raise the door about two feet, then lower it back to the closed position. As each roller passes through the vertical track, watch the wheel. A healthy roller spins freely and silently. A failing roller will wobble as it passes, or it will hesitate before rotating. In our experience, Buford’s humid summers accelerate roller bearing corrosion, and we see more roller replacements in August and September than any other month. For steel rollers, a wobbling wheel is a replacement signal. For nylon rollers, inspect the nylon rim for flattening or chunking along the edge. A flat spot on a roller creates a rhythmic thump that you can feel through the floor.
Evaluate Spring Wear With the Two-Inch Manual Lift Test
We described the manual lift test in the quarterly section, but the annual check adds a measurement. When you disengage the door and lift it to waist height, watch what the door does with precision. A balanced door holds its position. A door that falls more than two inches has lost enough spring tension that the opener is now doing the work of both opening and holding, and the opener’s motor is rated for neither. In Buford, this condition shows up as: the opener makes more noise than it did six months ago, the door closes faster than it used to, and the opener’s chain or belt slaps on the down travel. Any one of those symptoms, combined with a falling manual lift test, means new springs. Do not attempt spring work yourself. Torsion springs under tension store enough force to cause serious injury if they release while being handled.
Document the Inspection
Write down or photograph each measurement you take: track plumb, manual lift behavior, roller wear notes, bottom seal condition, and any new sounds. Our more guides & resources section gives you the exact template for this log. The value of the logged history becomes clear the day you call a professional and can say, “The door has been falling two inches on manual lift since November” rather than “It seems like it’s been getting worse lately.” That history saves a technician time, saves you money, and demonstrates to whoever you hire that you are not the kind of homeowner who will accept a vague quote.
For homeowners who want a professional to take these measurements, Garage Door Installation in Buford includes a full inspection on every install and replacement, and the measured results are delivered in a documented record with photos when the technician leaves.
The Bottom Seal Check: Buford’s Most Skipped Task
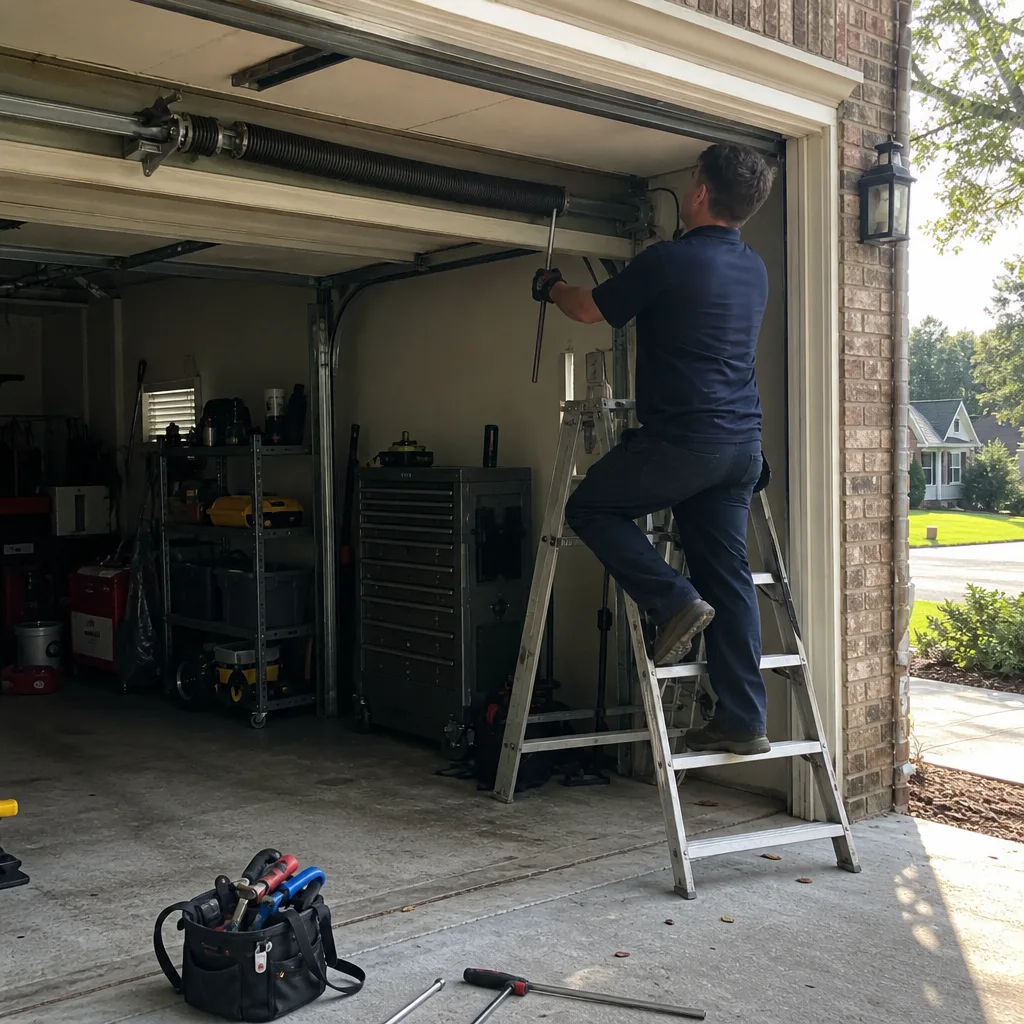
If you take one thing from this guide, take this section. The bottom seal is the rubber or vinyl strip that runs along the floor edge of the garage door. Its job is to compress against the concrete and keep water, leaves, and pests out. In Buford, where average annual rainfall totals around 50 inches and summer thunderstorms deliver flash-intensity downpours, a failed bottom seal does not just let in a damp garage, it lets in standing water that soaks stored boxes, tools, and the drywall at the garage perimeter. We have seen a failed seal cause more water damage in a single Gwinnett County storm season than a roof leak, and the seal costs $40 to replace.
The Dollar Bill Compression Test
- Close the garage door fully and make sure it rests on the concrete, not on the weather seal or a threshold strip.
- Take a dollar bill and slide it under the door at the center point. The bill should meet resistance and you should not be able to pull it out without tearing or significant force.
- Repeat the test at the left and right corners of the door, at the halfway points between the corners and center, and at any point where the concrete has a visible crack or low spot.
- Record each test point and whether the bill passed or failed. Fail means the bill slides out with little or no resistance.
Any single point that fails means the seal is not compressing against the floor at that point. The fix is a new bottom seal, and it is one of the least expensive repairs you will ever do on a garage door. The seal itself costs between $30 and $60 for most standard 16-foot doors. The labor to replace it, if you hire it out, runs between $80 and $150 in the Buford market. Put that against the cost of one water-damaged sheet of drywall, which with paint and labor runs over $250, and the checklist logic writes itself: check this monthly, not annually.
What Causes a Seal to Fail
The bottom seal ages out from three primary causes. Sunlight breaks down the vinyl or rubber over time, turning it brittle and cracked. Temperature cycling in Buford’s hot summers and cold snaps makes the material lose its flexibility, so it no longer compresses against the floor with enough force to make a watertight seal. And animal urine, from neighborhood cats or raccoons, eats through the material. If the seal appears brittle, cracked, flattened, or if you can see daylight between the seal and the floor from inside the garage, it has failed. Replace it before the next storm season. A seal that keeps water out in January may fail completely by June because the material continues to degrade even when you are not looking at it.
How to Measure Spring Tension Without Touching the Spring
Garage door springs hold enormous stored energy. The torsion spring mounted above the door is under enough tension to lift the full weight of the door, typically 150-250 pounds for a double door, and when it releases that energy, the coil spins with enough force to break bone and cause severe injury. This is why we never recommend a homeowner touch or adjust a spring, ever. You can, however, measure spring health with surprising accuracy from a safe distance using the manual lift test we touched on earlier and a few observations.
The Two-Inch Manual Lift Test, in Detail
- Close the garage door fully.
- Pull the red manual release cord to detach the door from the opener carriage. The cord hangs from the center rail, usually about two feet behind the opener motor.
- Lift the door from the closed position using the handholds on the bottom panel, not the handle. Raise it to approximately waist height.
- Release the door completely and watch it.
Here’s what the door’s behavior tells you. If the door stays in place, moves less than one inch, the springs are in good tension. If the door drops more than two inches, the springs have fatigued and lost tension, and they need replacement. If the door rises on its own, the springs are over-tensioned, and the opener is fighting the upward force every time it closes the door. That condition wears out openers prematurely and can cause the door to slam against the floor on the down travel.
Reading Spring Wear Visually
Stand to the side of the spring, never directly in front of it, and look for three visible signs. First, a clean break in the coil: a broken torsion spring shows a visible separation between two coils, usually with a gap between them. We photograph this before we quote a replacement, per Clause 4 of The Haven Standard, because a broken spring is not an opinion, it is a visual fact, and you as the homeowner deserve to see the evidence yourself. Second, a stretched or elongated coil: springs lose tension by stretching over time, and a spring that has stretched 10% or more beyond its original length is nearing the end of its service life. Third, rust or corrosion pitting on the coil surface: rust weakens the metal and creates stress concentrators, and a rusted spring with visible pitting is on borrowed time, even if it still passes the manual lift test.
Spring replacement is not a do-it-yourself job. The serviced brands we work with include top manufacturers like Chamberlain and Genie for openers and Clopay and Amarr for doors, but the spring itself is selected to match the exact door weight and height, not the brand. A technician measures the old spring’s wire diameter, coil length, and inner diameter before selecting the replacement, and that measurement, not a guess, is what determines whether the new spring balances the door. If someone quotes you a spring replacement price without measuring the wire diameter and coil count, they’re guessing at parts, and you’ll feel the guess every time the door opens.
Lubrication Spec: What Goes Where and What Never Touches a Garage Door
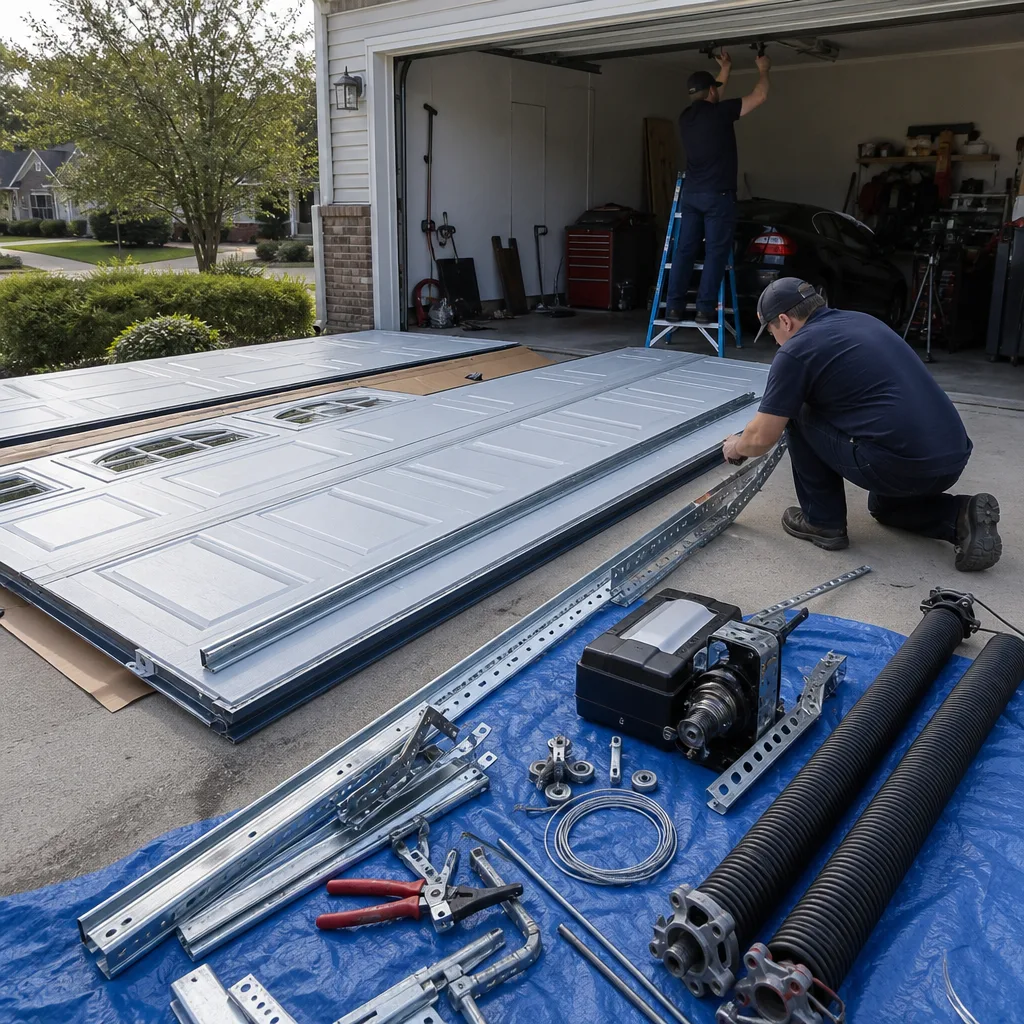
Most published garage door checklists say “lubricate the door” and leave it there, which is about as useful as saying “cook the food.” The right lubricant on the right component extends the life of your hardware. The wrong lubricant on the wrong component accelerates the exact wear you were trying to prevent, and one product in particular does real, measurable damage to garage door components every time it is used.
The Component-by-Component Lubrication Table
| Component | Product to Use | How to Apply | Never Use |
|---|---|---|---|
| Hinges | White lithium grease | Thin coat on each pivot point | WD-40, motor oil |
| Rollers (steel with bearings) | Lightweight machine oil, 3-in-1 or similar | One drop per bearing, twice per year | Grease, WD-40 |
| Rollers (nylon) | Lightweight machine oil on bearing only | One drop per bearing, twice per year | Any product on the nylon wheel |
| Tracks (interior surface) | Nothing | Wipe clean with dry cloth, no lubricant | Any lubricant, including silicone |
| Torsion spring (coated) | Garage door lube spray | Light mist along the coil length | Grease, WD-40, penetrating oil |
| Lift cables | Nothing | Inspect only, never lubricate | Any lubricant |
| Opener chain or belt | Nothing for belts; white lithium for chains | Thin coat on chain only | Grease on belts, WD-40 on chains |
Why WD-40 Is the Worst Thing You Can Use
WD-40 is a solvent with light lubrication properties, and it was designed to free stuck parts and displace moisture, not to lubricate parts that move under load. On garage door hinges, WD-40 dissolves the existing grease, washes it out of the pivot, and leaves the metal bare. The hinge then runs dry and wears faster than it would have with no lubrication at all. We see this pattern often in Buford: a homeowner trying to do the right thing sprays WD-40 on every moving part, and three months later the hinges are squeaking worse than before. The fix is to wipe the components clean and re-lubricate with the correct product, but the wear that happened during the dry period does not reverse.
How Much Lubricant Is Enough
The right amount of lubricant is less than most people apply. A hinge pivot needs a coat thin enough that it does not drip. A roller bearing needs one drop, not a stream. A torsion spring needs a light mist, not a soaking, and only if the spring has a coating that accepts spray lube. If you see lubricant pooling or running down any component, you have applied too much, and the excess will attract the dust and pollen that Buford’s air carries in volume every spring. Excess lubricant mixed with airborne grit is a grinding paste, and that paste is harder on metal than running dry.
If the door still squeaks after correct lubrication, the sound is coming from a worn component, not a dry one. At that point, the right call is a professional diagnosis. Our Garage Door Opener Repair & Installation in Buford service includes lubrication during opener work, but a persistent squeak that survives correct lubrication needs a visit.
The Documentation Log: What to Record and Why It Matters
A maintenance checklist without a log is a series of impressions. A maintenance checklist with a log is a service record. The log matters because garage doors degrade slowly, and the human brain is terrible at remembering gradual change. A three-inch drift in balance over six months, recorded monthly, looks like a trend. Remembered, it looks like “the door has always been like that.” That distinction is the difference between a $100 adjustment and a $2,000 emergency repair.
The Minimum Viable Log Entry
After every inspection, record these five data points:
- Date and time of day. Temperature matters because metal expands and contracts; a door that passes a balance test at 9 a.m. in August may fail at 7 a.m. in January.
- Manual lift result. Note the exact distance the door moves after release, to the nearest inch. “Drops 2 inches” is data. “A little off” is noise.
- Bottom seal test results. Record pass or fail for each test point. “Center passes, right corner fails” tells you exactly where the concrete is low or the seal is worn.
- Any new sounds, in the operator’s own words. “Rhythmic thump matching roller speed” is precise. “Making a noise” is not. Write down when you hear it: on the way up, on the way down, or at the transition point where the door rounds the curve.
- Any visual observations. Rust spots, frayed cable strands, loose bolts, cracking in the panel surface. If you photograph anything, store the photo with a filename that includes the date, like “2026-03-15-cable-fray.jpg.”
Why the Log Saves You Money
When a technician arrives, the first thing a good one does is ask what you have been noticing. If your answer is “the door has been acting weird for a while,” the diagnosis starts from zero, and diagnosis time is billable time. If your answer is “the manual lift has been dropping 2 inches for three months, and the right-side roller wobbles on the way down,” the technician knows where to look before touching the door. In our experience, a homeowner with a log gets a faster, more accurate diagnosis, and the log often reveals that the issue is isolated to one component, not systemic. A picture of a frayed cable taken three months ago, plus a log entry showing it was not frayed six months ago, tells the full story of when and how the cable began to fail.
Keeping the Log Digital
A simple note on your phone is sufficient. A spreadsheet is better because you can sort and search the entries. The format matters less than the consistency: same data points, same day each month, no gaps longer than two months. If you miss a month, note that you missed it and resume.
The reason we include a documented photo record on every visit here at Servo traces back to the same logic: a homeowner who can see what we found and what we did is a homeowner who can make an informed decision. The founding rule at our company, since 2015, has been that you see the failed part before anyone quotes a replacement. Your maintenance log does the same work between visits, and when you hand it to a technician, the documentation starts the conversation from truth rather than from impression.
Common Mistakes to Avoid
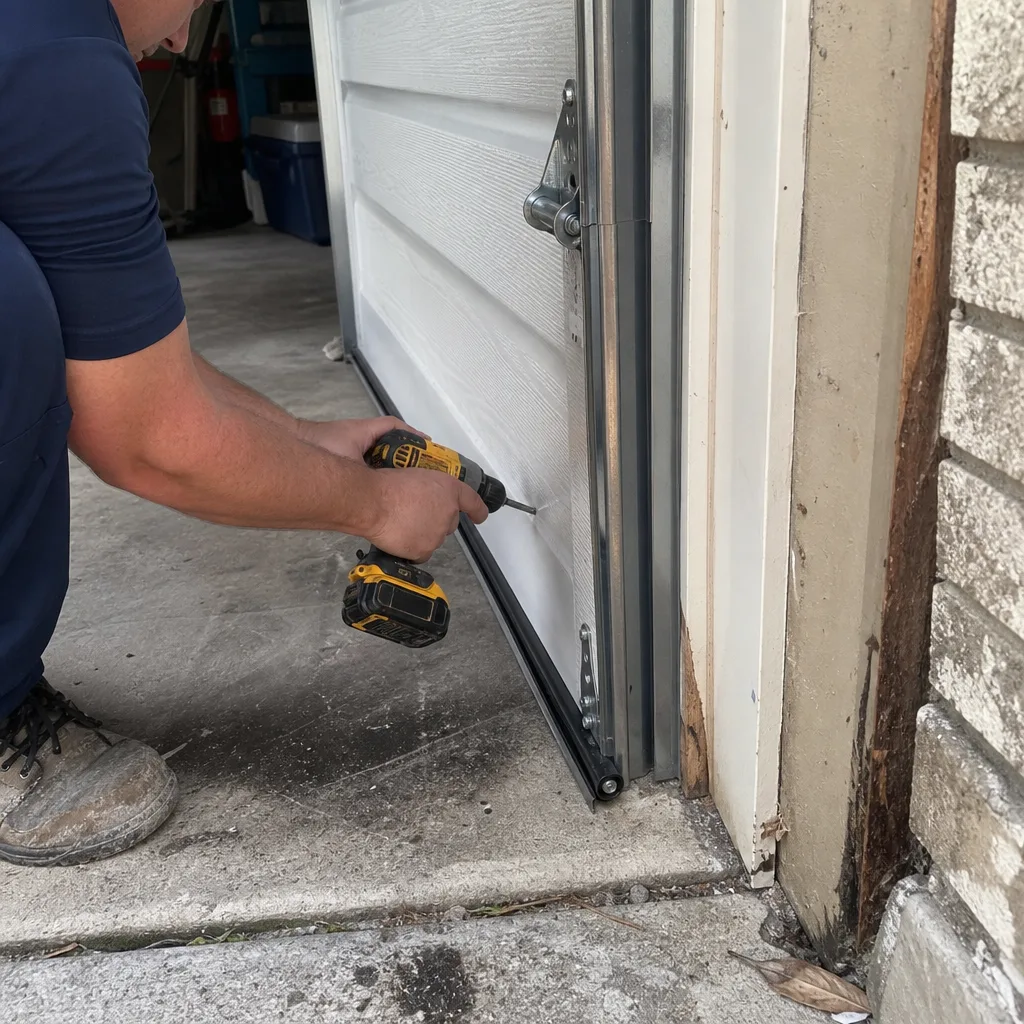
- Lubricating the track. The track is a guide rail, not a bearing surface. Any lubricant in the track becomes a paste with dust and debris, which binds the rollers and makes the door work harder. Wipe the track, do not lube it.
- Using WD-40 on hinges or springs. WD-40 dissolves existing lubrication and leaves components dry. The hinge squeak returns, but now the hinge is wearing metal-on-metal, and you have converted a lubrication issue into a replacement issue.
- Skipping the bottom seal check because the garage looks dry. The seal fails gradually, and the water that crosses it does not always pool visibly. It soaks into drywall and wicks into stored boxes. In Buford’s storm season, a failed seal can go undetected for weeks while damage accumulates behind shelving and along the wall line.
- Attempting spring work without professional training. The stored energy in a torsion spring is sufficient to cause severe injury, and the pre
There is no at-home fix for a broken spring that does not involve an unacceptable risk. This is the one component on a garage door where the do-it-yourself instinct should stop cold.
- Greasing a nylon roller. Grease on the nylon wheel attracts grit and accelerates wear. The nylon wheel needs no lubrication at all; only the bearing inside takes oil, and only a drop.
- Ignoring a failing manual lift test because the opener still works. The opener is masking the spring’s fatigue. Every cycle you run on a failing spring, the opener’s motor and gear wear a little hotter, and the eventual failure, when it comes, is more expensive than a spring replacement would have been.
- Recording nothing after an inspection. An unrecorded observation is a lost observation. A log with gaps is still better than no log, but consistency is what makes the log useful when the door eventually needs work.
When to Call a Professional
Some findings on this checklist mean call someone rather than keep observing. A broken or visibly frayed torsion spring, a snapped lift cable, a door that falls more than two inches on the manual lift test, a track that has separated from the wall, or an auto-reverse that fails are all conditions that require a professional with training and the right tools. These are not adjustment issues; they are safety issues. A garage door that falls off its track weighs between 150 and 300 pounds, and that weight landing on a person is a life-changing event. Do not set a board against it, do not try to coax it back into the track, and do not work under a door that is not secured.
Servo Garage Doors Buford offers free estimates in Buford, and every job is quoted with a flat, written price and written scope before any work starts. Call (470) 458-9647, and a real person answers, day or night.
Frequently Asked Questions
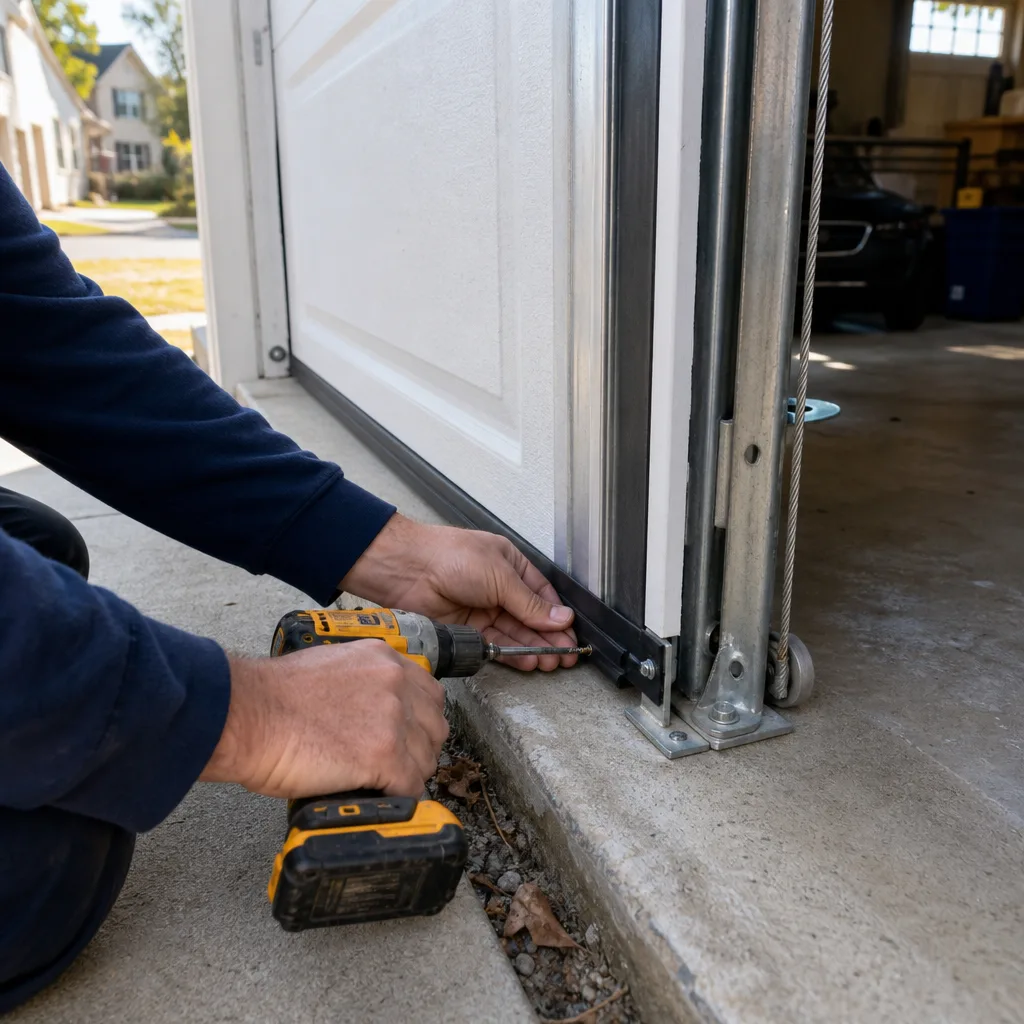
Every three to four months, matching the quarterly maintenance schedule, is the right cadence for Buford’s climate. The heat accelerates lubricant breakdown, and the dust and pollen load during spring and fall contaminate the lubricant that is already there. If your garage door faces south or west and gets direct afternoon sun, you may need to lubricate the hinges every two months, because the extra heat thins the grease and causes it to drip away from the pivot points. Call (470) 458-9647 if you want a professional lubrication pass and inspection, quoted with a flat, written price before any work begins.
Spring replacement in Buford typically runs between $180 and $350 for a single torsion spring, including the part and labor, and between $280 and $500 when both springs are replaced together. The exact price depends on the spring’s wire diameter, coil length, and inner diameter, which is why a written price is quoted after a technician measures the existing spring, never before looking at it. Call (470) 458-9647 for an exact quote on your door, based on the measurements, with no work starting until you approve the written price.
Yes, emergency calls are answered by a live person 24 hours a day, 7 days a week, including holidays. When you call (470) 458-9647 with an emergency, you get a named technician and an on-the-way text, not a callback window. The technician photographs the failed part before quoting a replacement, per Clause 4 of The Haven Standard, so you are never asked to approve a repair you have not seen.
The seal needs replacing if a dollar bill slides out from under the closed door at any point along the seal’s length with little resistance. Other signs are visible cracks, brittleness, or flattening of the seal material, or daylight visible between the seal and the garage floor from inside the garage. A failed seal in Buford matters especially during storm season, when a failed seal can let standing water into the garage and the drywall around it. The seal itself costs $30-$60 for most doors, far less than the water damage it prevents.
The monthly and quarterly checks on this list are designed for homeowners to do themselves, with no tools beyond a level, a wrench, and a dollar bill. The annual deep inspection can also be done yourself if you are comfortable with the measurements, but spring, cable, and track adjustments are professional work, not homeowner work. If you prefer to hand the whole checklist to someone else, Servo performs full inspections with a documented photo record and a written report of findings, and the first estimate is free. Call (470) 458-9647 to schedule one.
Chamberlain and Genie both hold up well in Buford’s heat and humidity when the opener is installed with correct ventilation in the garage. The bigger variable is not brand but installation quality; an opener mounted out of level or with a loose chain wears out its gears and sprockets faster regardless of the brand name on the side. We service all major brands, including Chamberlain and Genie, and the most common opener failures we see are heat-related logic board failures in unventilated garages, which affect every brand equally.
The Bottom Line
A garage door maintenance checklist without measurements is a list of things to glance at. The numbers in this guide – the 1/8-inch plumb tolerance, the 2-inch manual lift threshold, the dollar bill compression test – are what turn a glance into a diagnosis. Buford’s climate makes some of these checks more urgent than they would be elsewhere: bottom seals fail harder in a 50-inch rainfall market, spring tension drifts with the temperature swings, and lubrication life shortens in the heat. Run the monthly, quarterly, and annual passes, record what you find, and when a measurement crosses the failure line, call a professional. See How to Hire a Garage Door Contractor in Buford: A Step-by-Step Guide to know what to expect when they quote you a written price and show you the evidence before touching the door.
Written by Marcus Deller, Owner at Servo Garage Doors Buford, serving Buford since 2015.